Even though it has only been two weeks since I last posted a blog post, it feels like it has been absolutely ages since I actually sat down to write one, and that’s because it has been. The last few blog posts were written a few weeks in advance so that I could enjoy some time off when we had friends visiting Abu Dhabi and when I went back home for a week afterwards. This week I have been catching up on writing and taking photos again and it feels great to be back at it :).
This blog post is a very exciting one for me. As you know, I am a huge fan of sheet masks, I even mentioned them in one of my first ever blog posts. Whilst a lot of sheet masks are pretty inexpensive to begin with, I have found a way to make sheet masks at home that are completely customised to my needs. The best part of all is that these DIY sheet masks can be made using lots of natural ingredients that most people will already have at home (such as honey, lemon, olive oil etc), making them really convenient and even cheaper than the shop bought ones. In addition to that, you know that they are packed with pure, natural ingredients that you have chosen yourself.
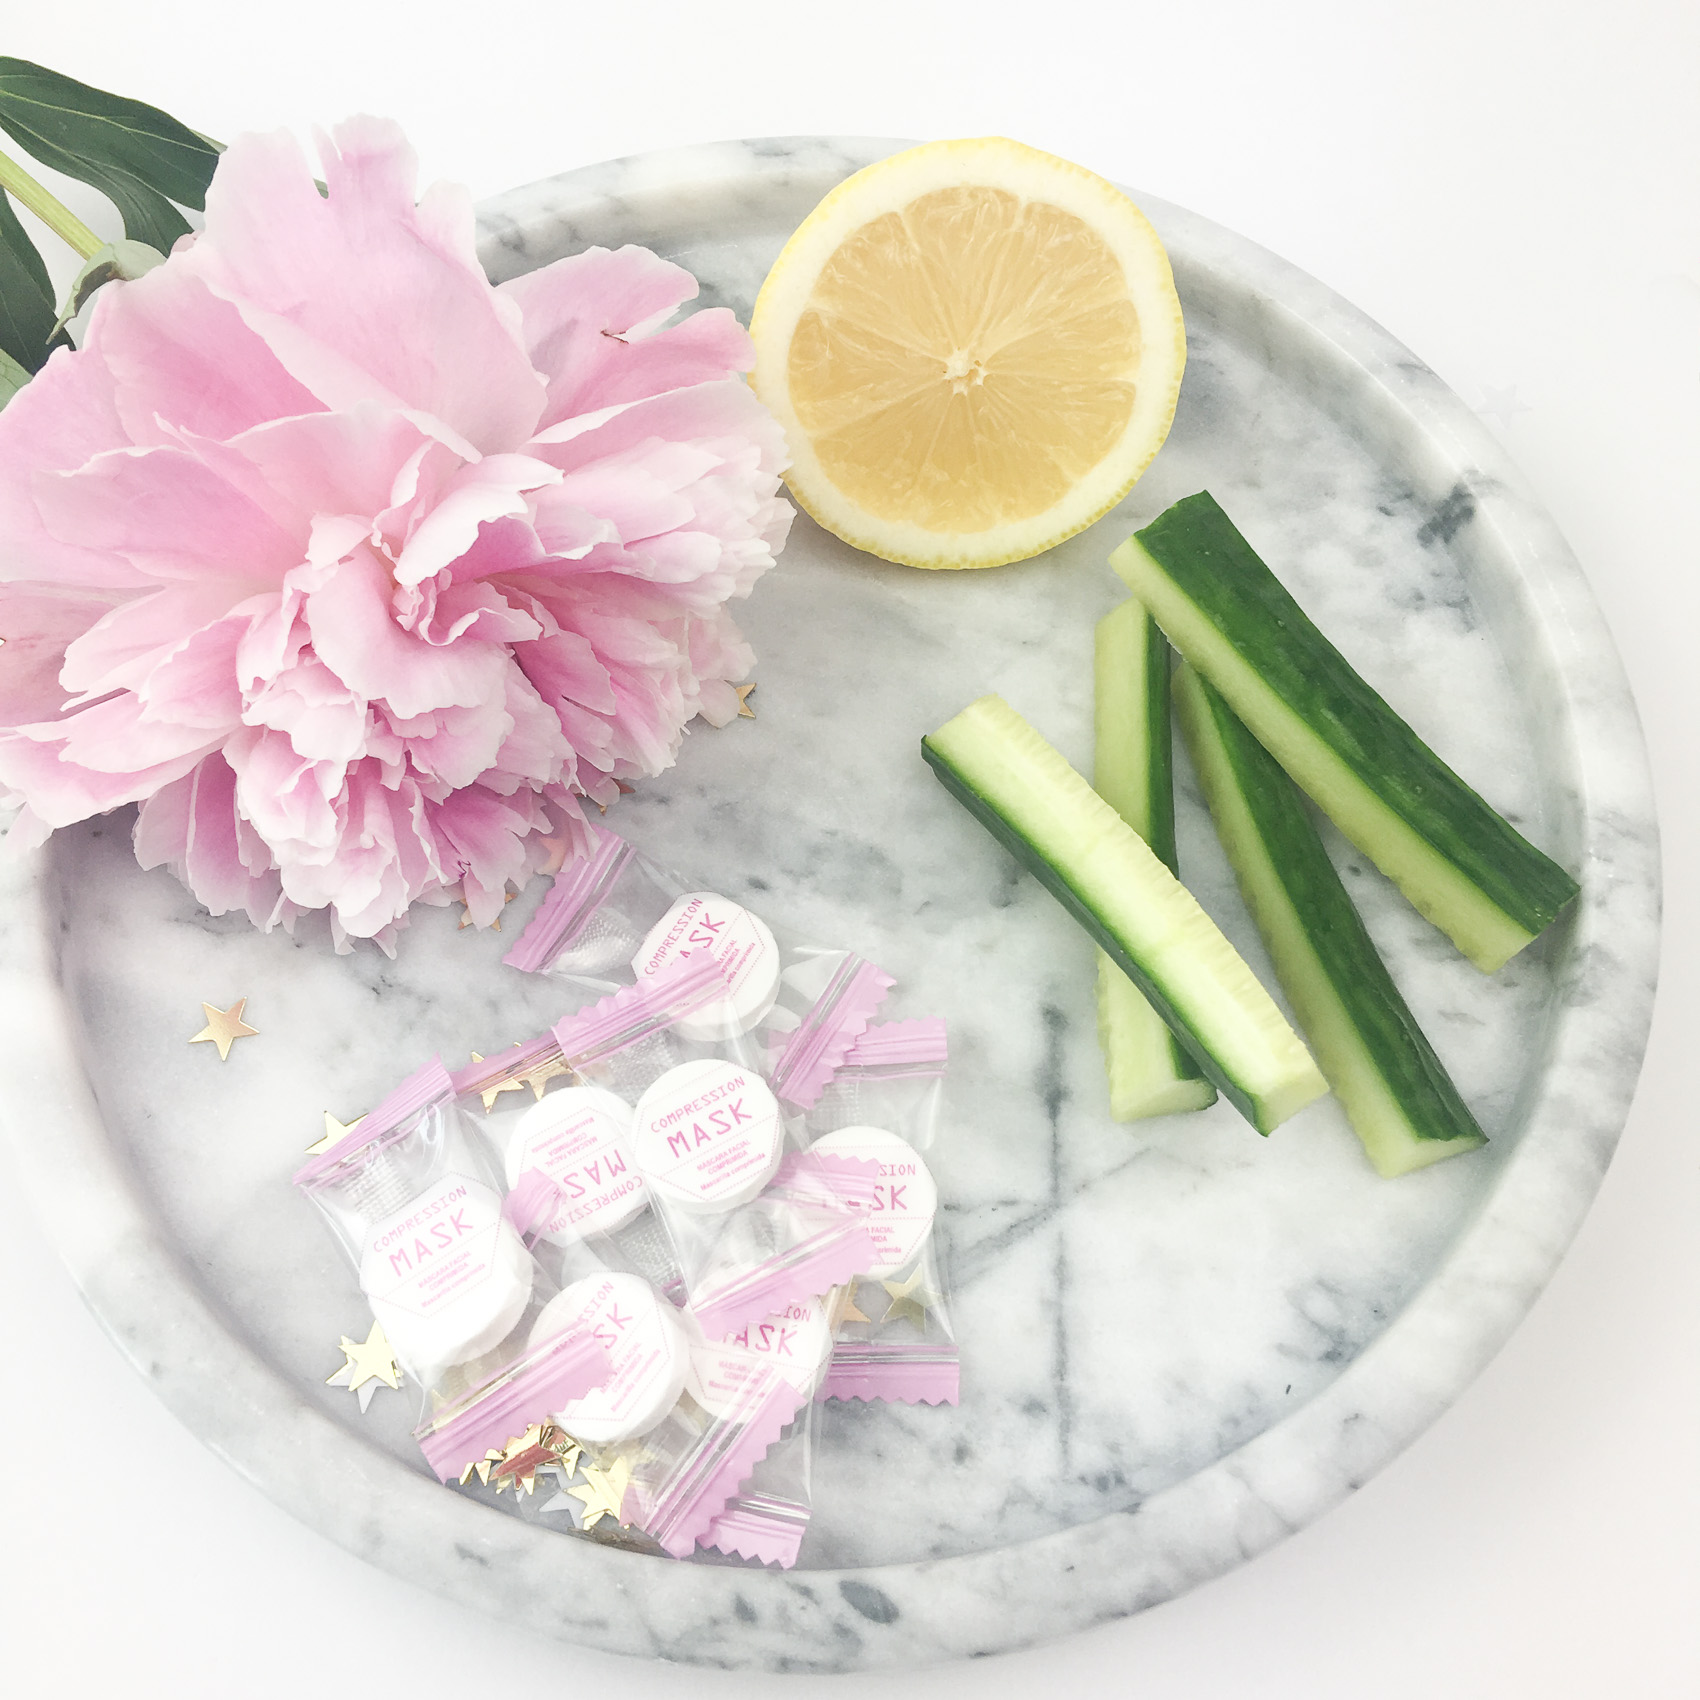
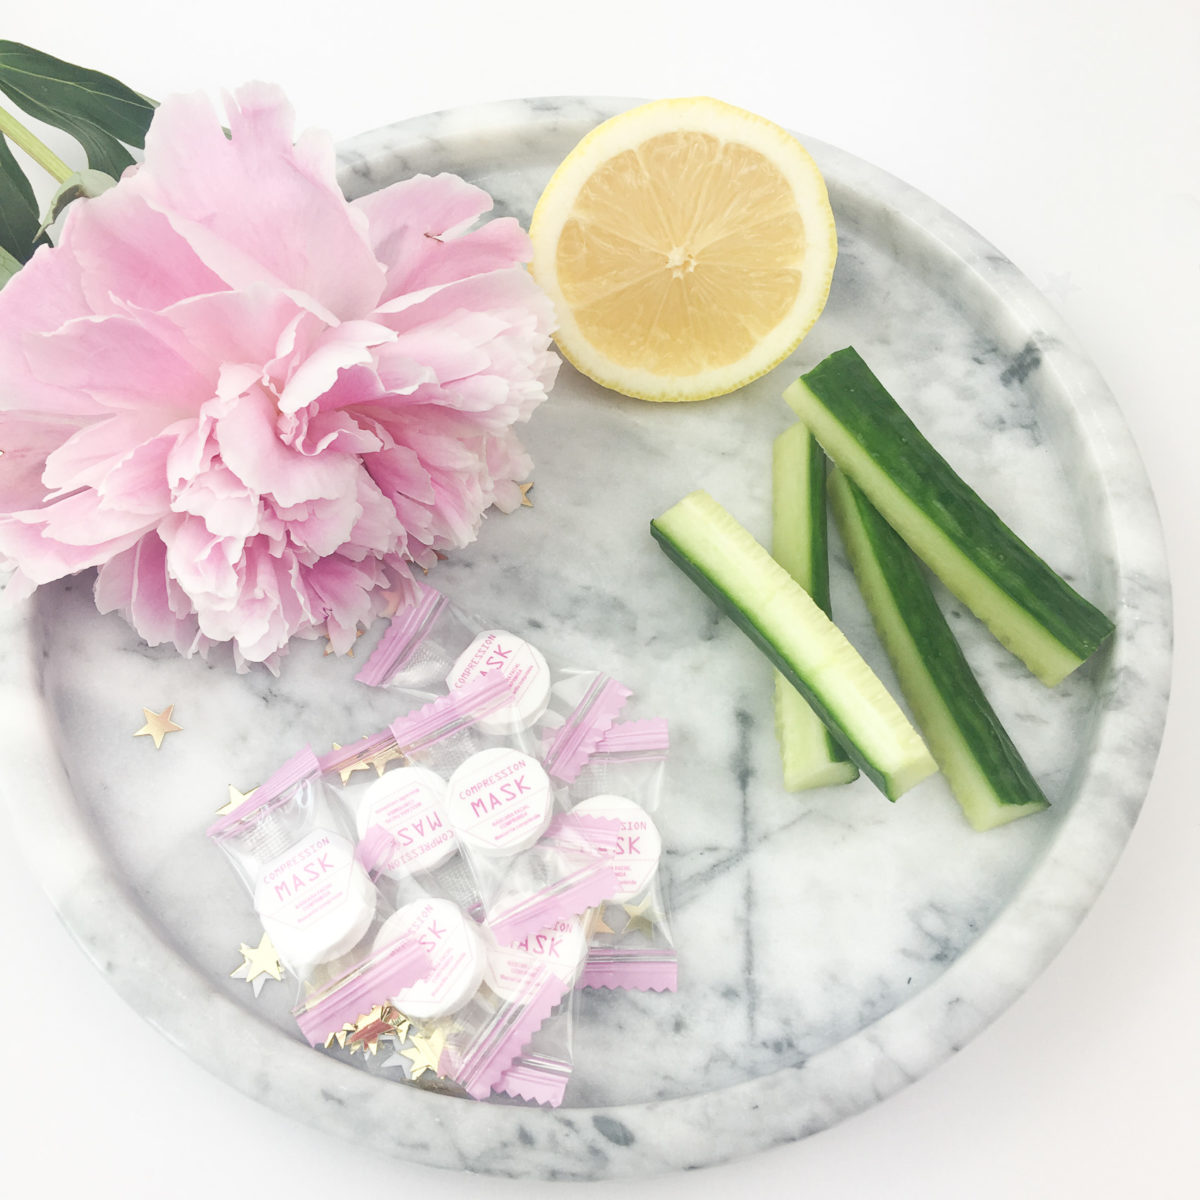
I discovered these DIY sheet masks by pure accident when I was in Hong Kong a few weeks ago. Once I realised what they were and how to use them, I did some research to find out where everyone else could buy them too so that I could share this amazing beauty hack with you all… All of the details are below… You’re welcome :).
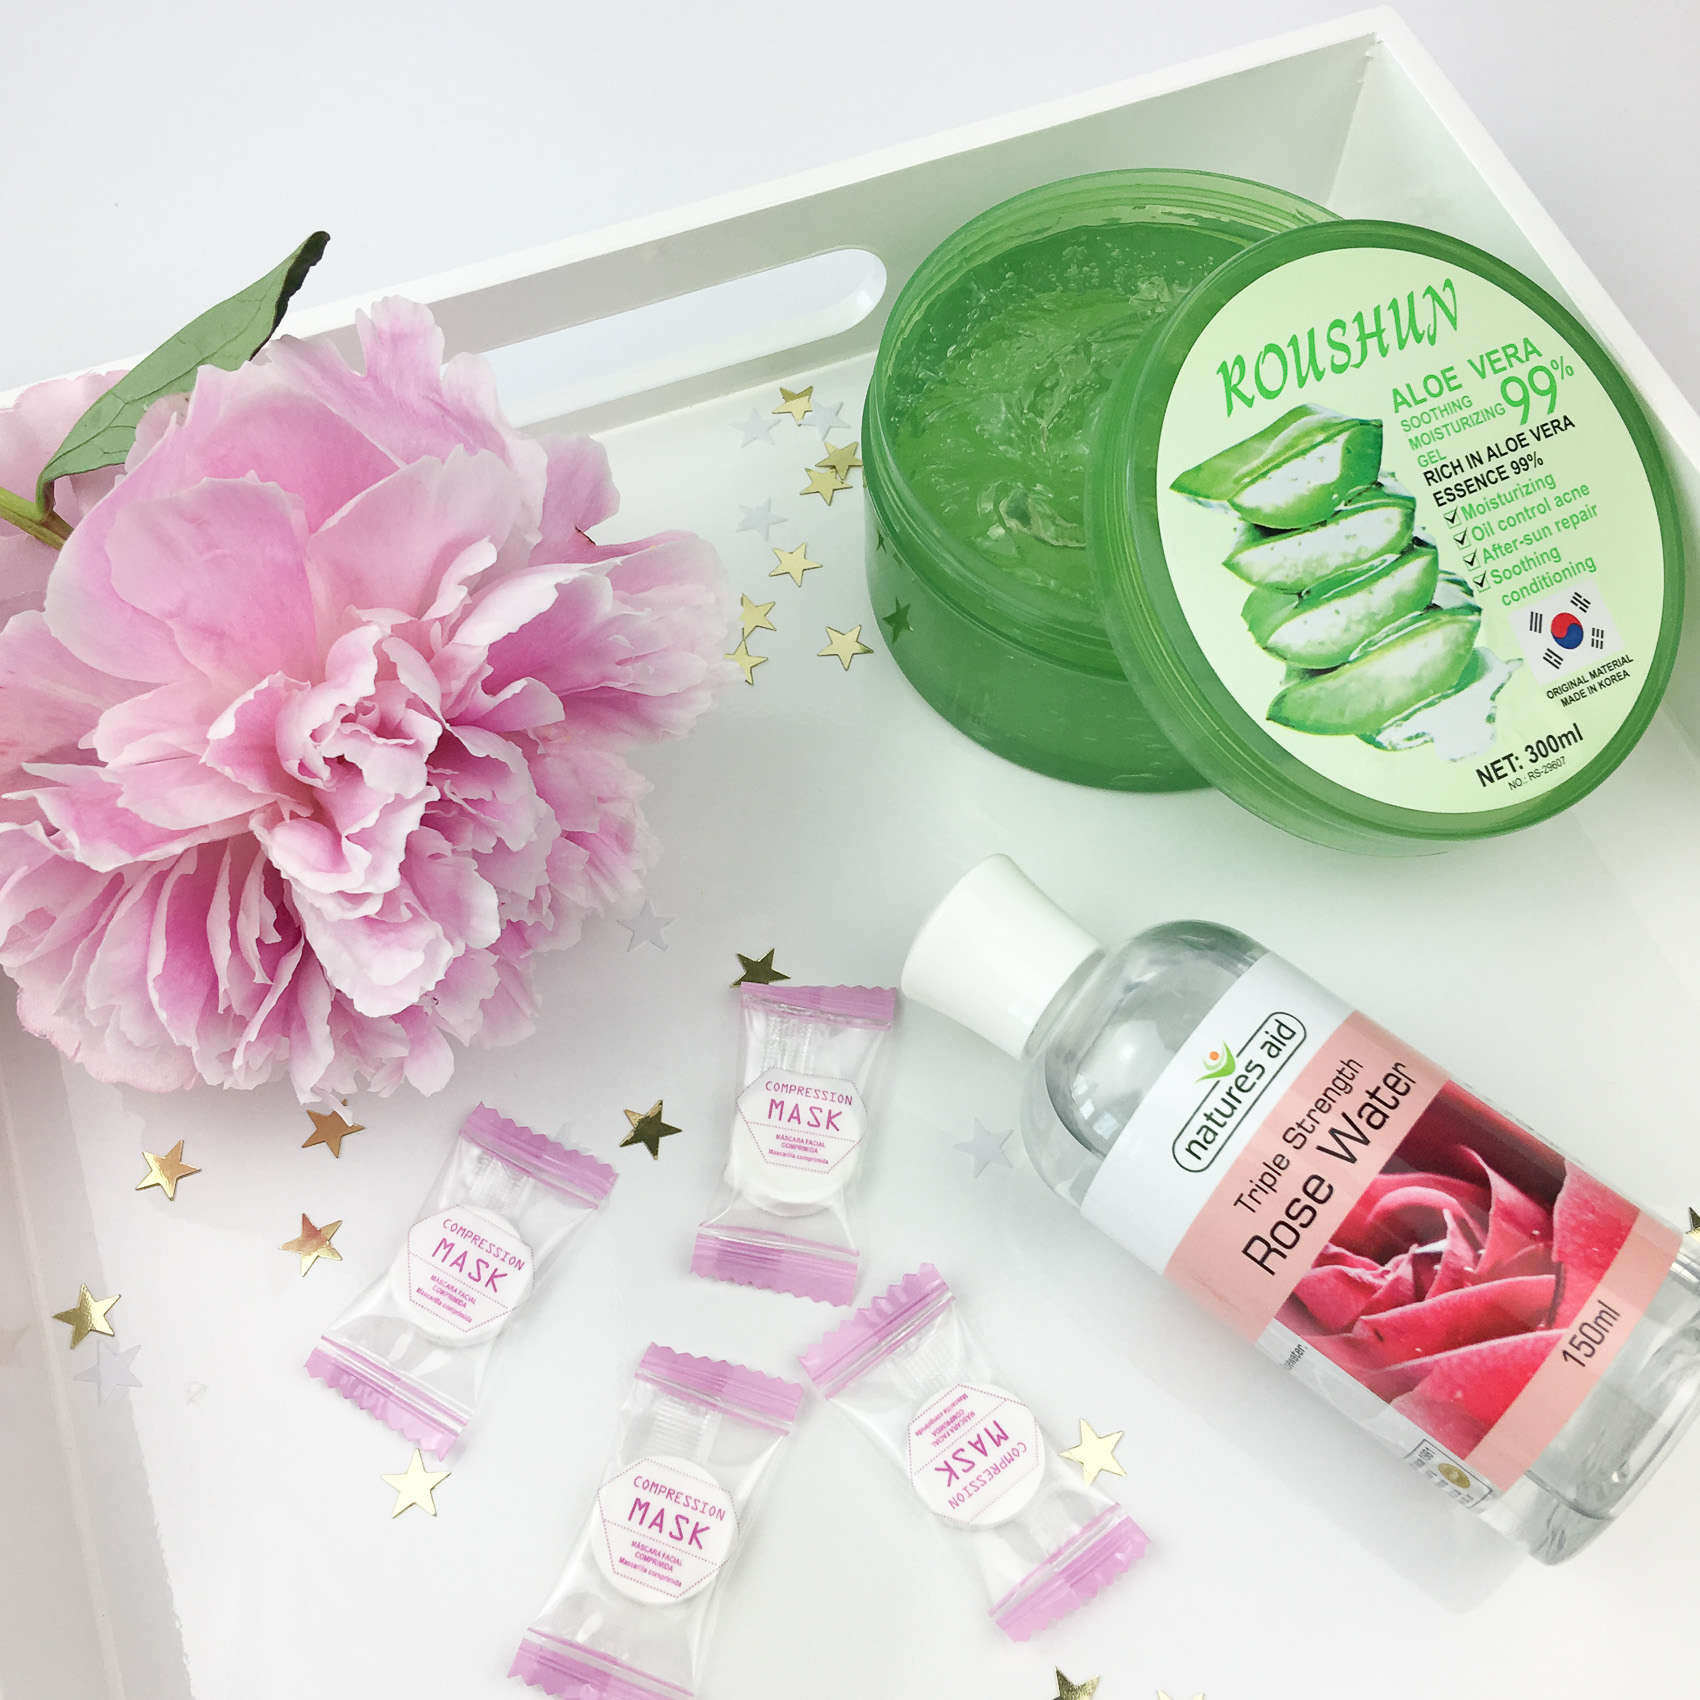
So whilst browsing through every pharmacy that I came across in Hong Kong, I discovered this little bag which was labelled ‘Compressed Masks’. It was filled up with what looked like individually wrapped tablets. However, given that it had the word mask on it, had an illustration of a face on the packet and the whole pack cost the equivalent of about £2, I thought they were worth a shot.
Having since figured out what compressed masks are, and how to use them, I have become completely hooked. They are essentially a dry sheet mask that is compressed into a tiny little circle and individually wrapped. Once the compressed sheet mask is saturated in a liquid, it expands and you can unravel it and place it on your face (guided by the holes that are cut out for your eyes and mouth of course, lol).
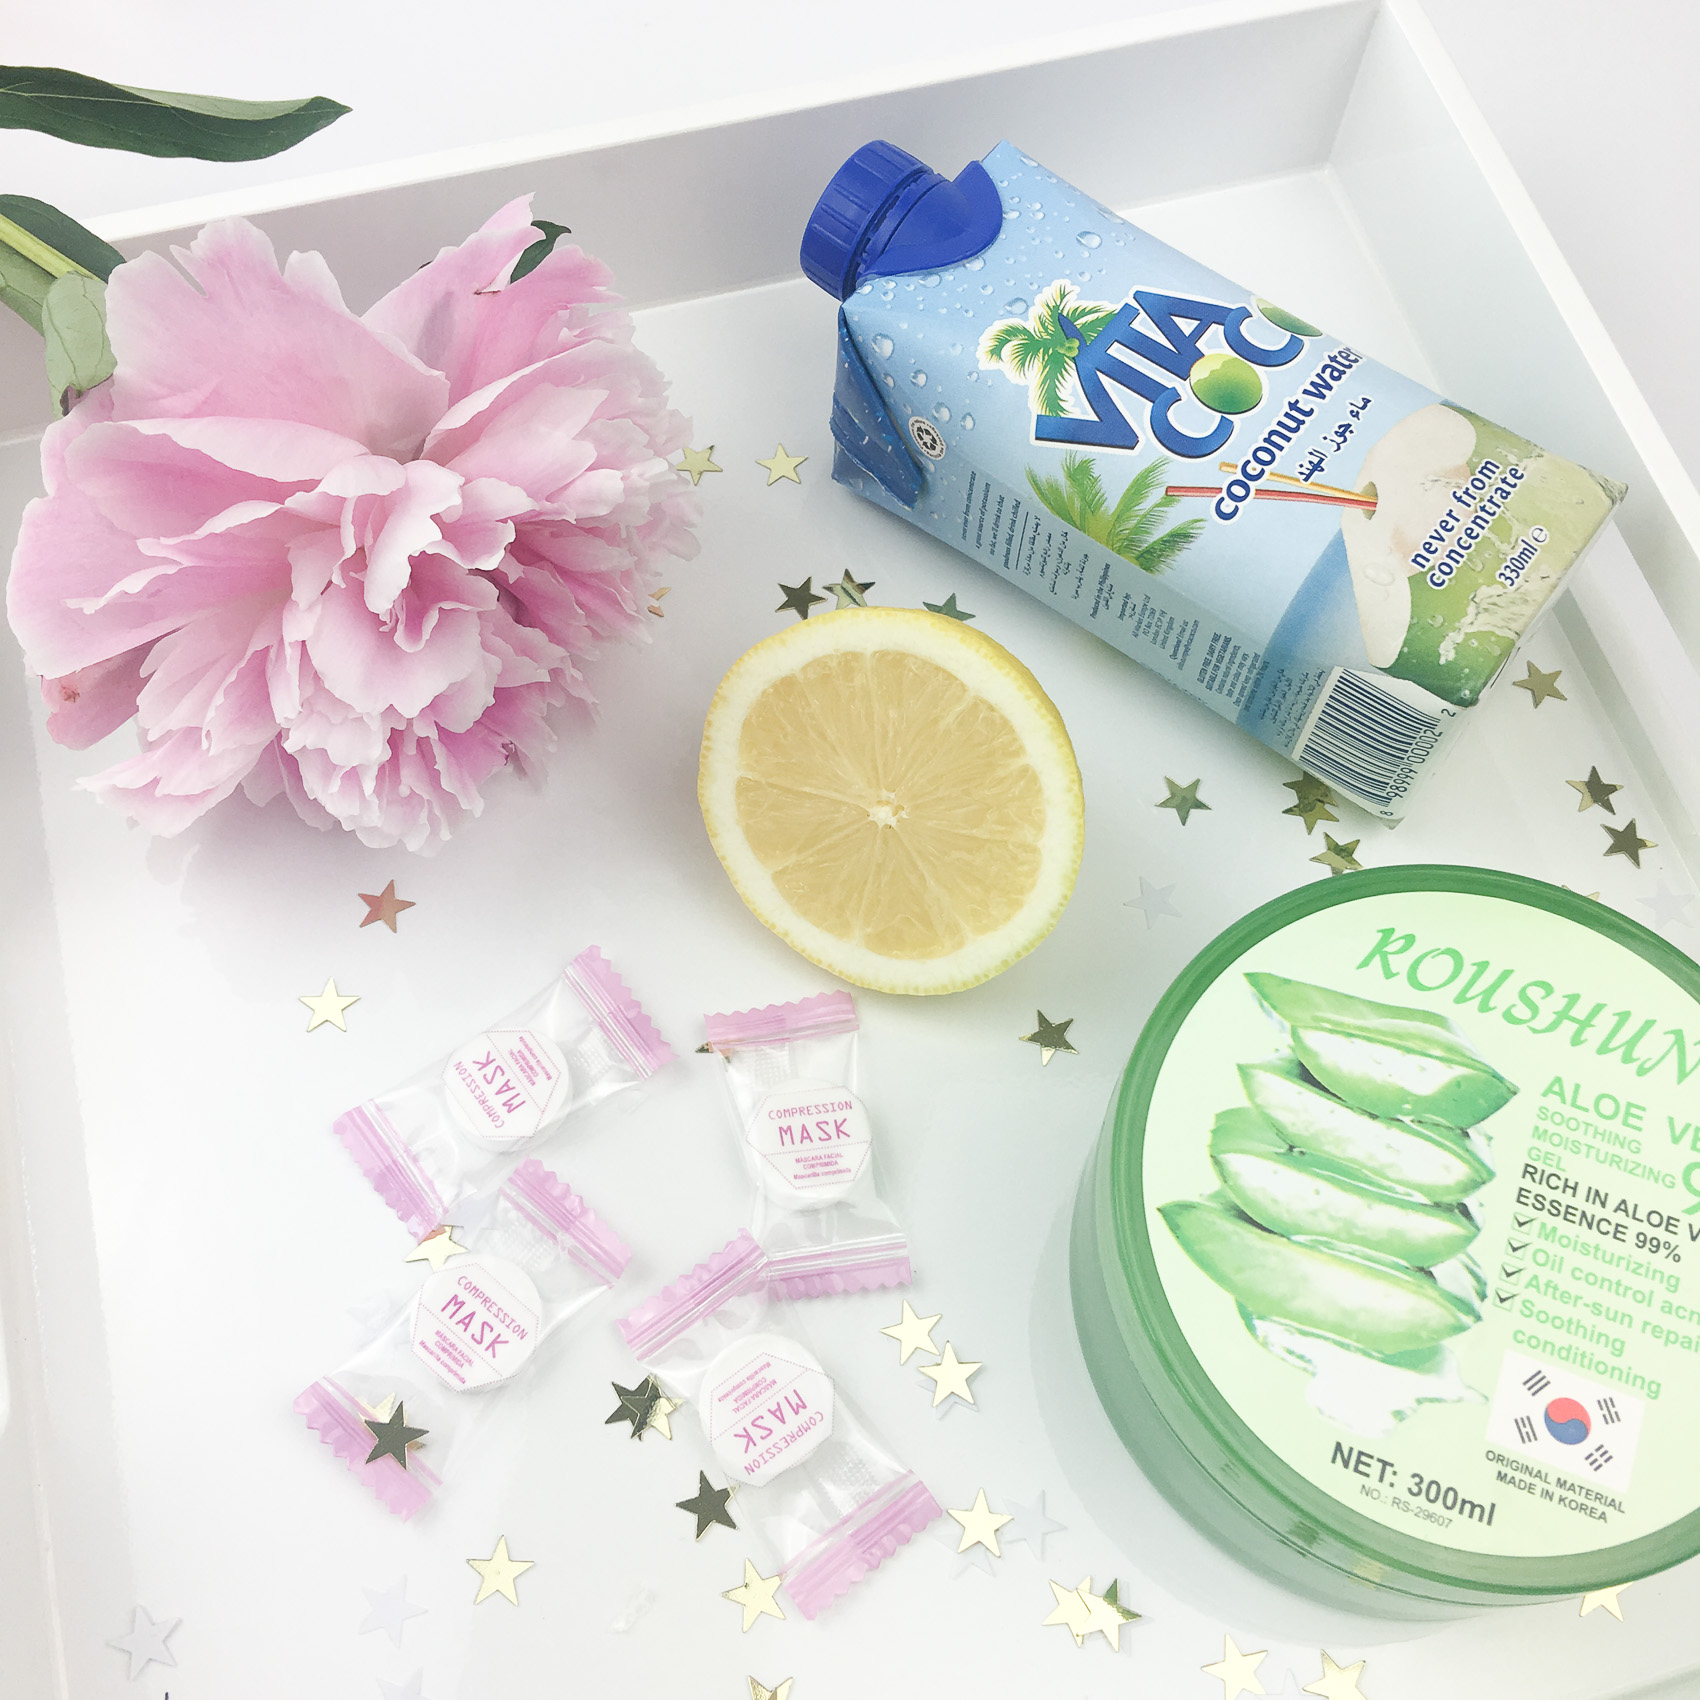
As I mentioned earlier, the beauty of the compression masks is that you can customise them to suit your personal skins needs. If you are like me, then this changes every day, and as a result you can change your choice of sheet mask solution accordingly :).
I thought it might be helpful to share the different recipes that I like to use on my compressed / sheet masks to target different skin problems.
The procedure is the same regardless of the recipe and I keep it very simple. I basically add the ingredients that I want to use into a small bowl and mix them together. Once they are well mixed I pop the mask into the solution and watch it grow as it absorbs the liquid! This is very addictive to watch for some reason!
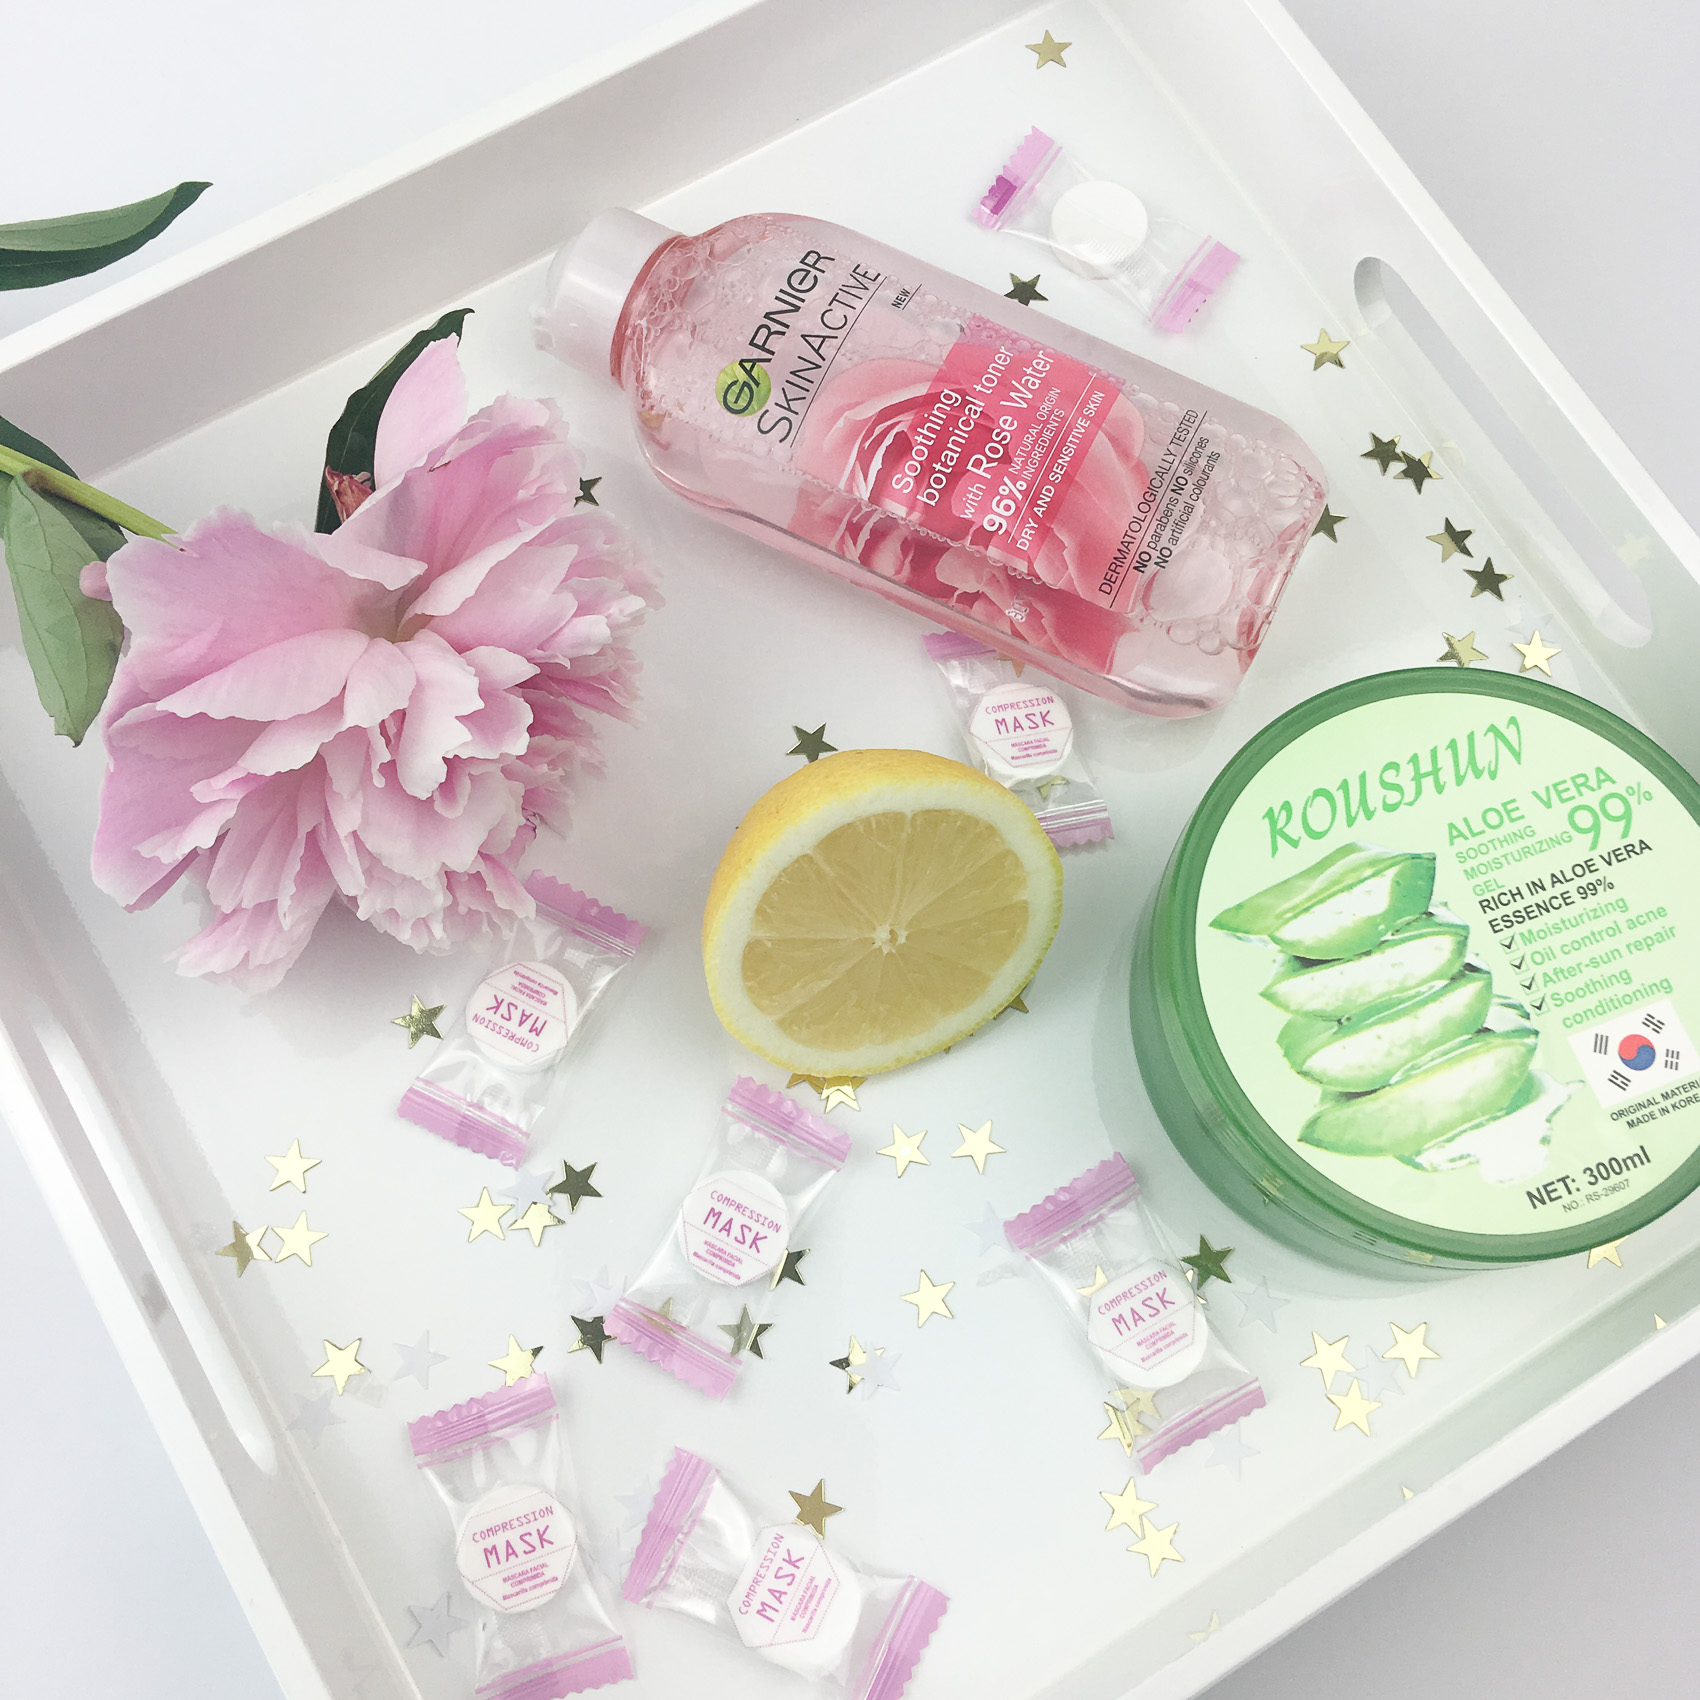
The trick is to make sure that the mask is fully saturated in liquid and expands fully before you place it on your face. Make sure to roll it around in the liquid to allow it to soak up as much of the solution as possible. If you feel as though the mask is a little dry or is difficult to unravel then just add a some more of your solution, or even a little bit of water.
Apply the mask and leave it on for about 15 minutes before removing it and washing your face.
Now onto my favourite recipes for DIY compressed masks …
For Acne Prone Skin
Ingredients
- 2 tablespoons fresh lemon juice
- 2 tablespoons of rose water
- 1 teaspoon of raw honey
The citric acid in lemon juice acts as a natural antiseptic and reduces bacteria, making it a great ingredient to use on acne prone skin. However, because of the lemon juice, this mask feels a little stingy when I first place it on my face, but it’s nothing unbearable and passes within a minute or so.
You easily find rose water in a pharmacy, supermarket or on Amazon. I sometimes even just use my Garnier face toner that has rose water in it instead.
Rose water has great anti-inflammatory properties, hence why it is a good ingredient for acne prone skin. In addition to that, the honey also brings anti-bacterial properties which again can help acne prone skin.
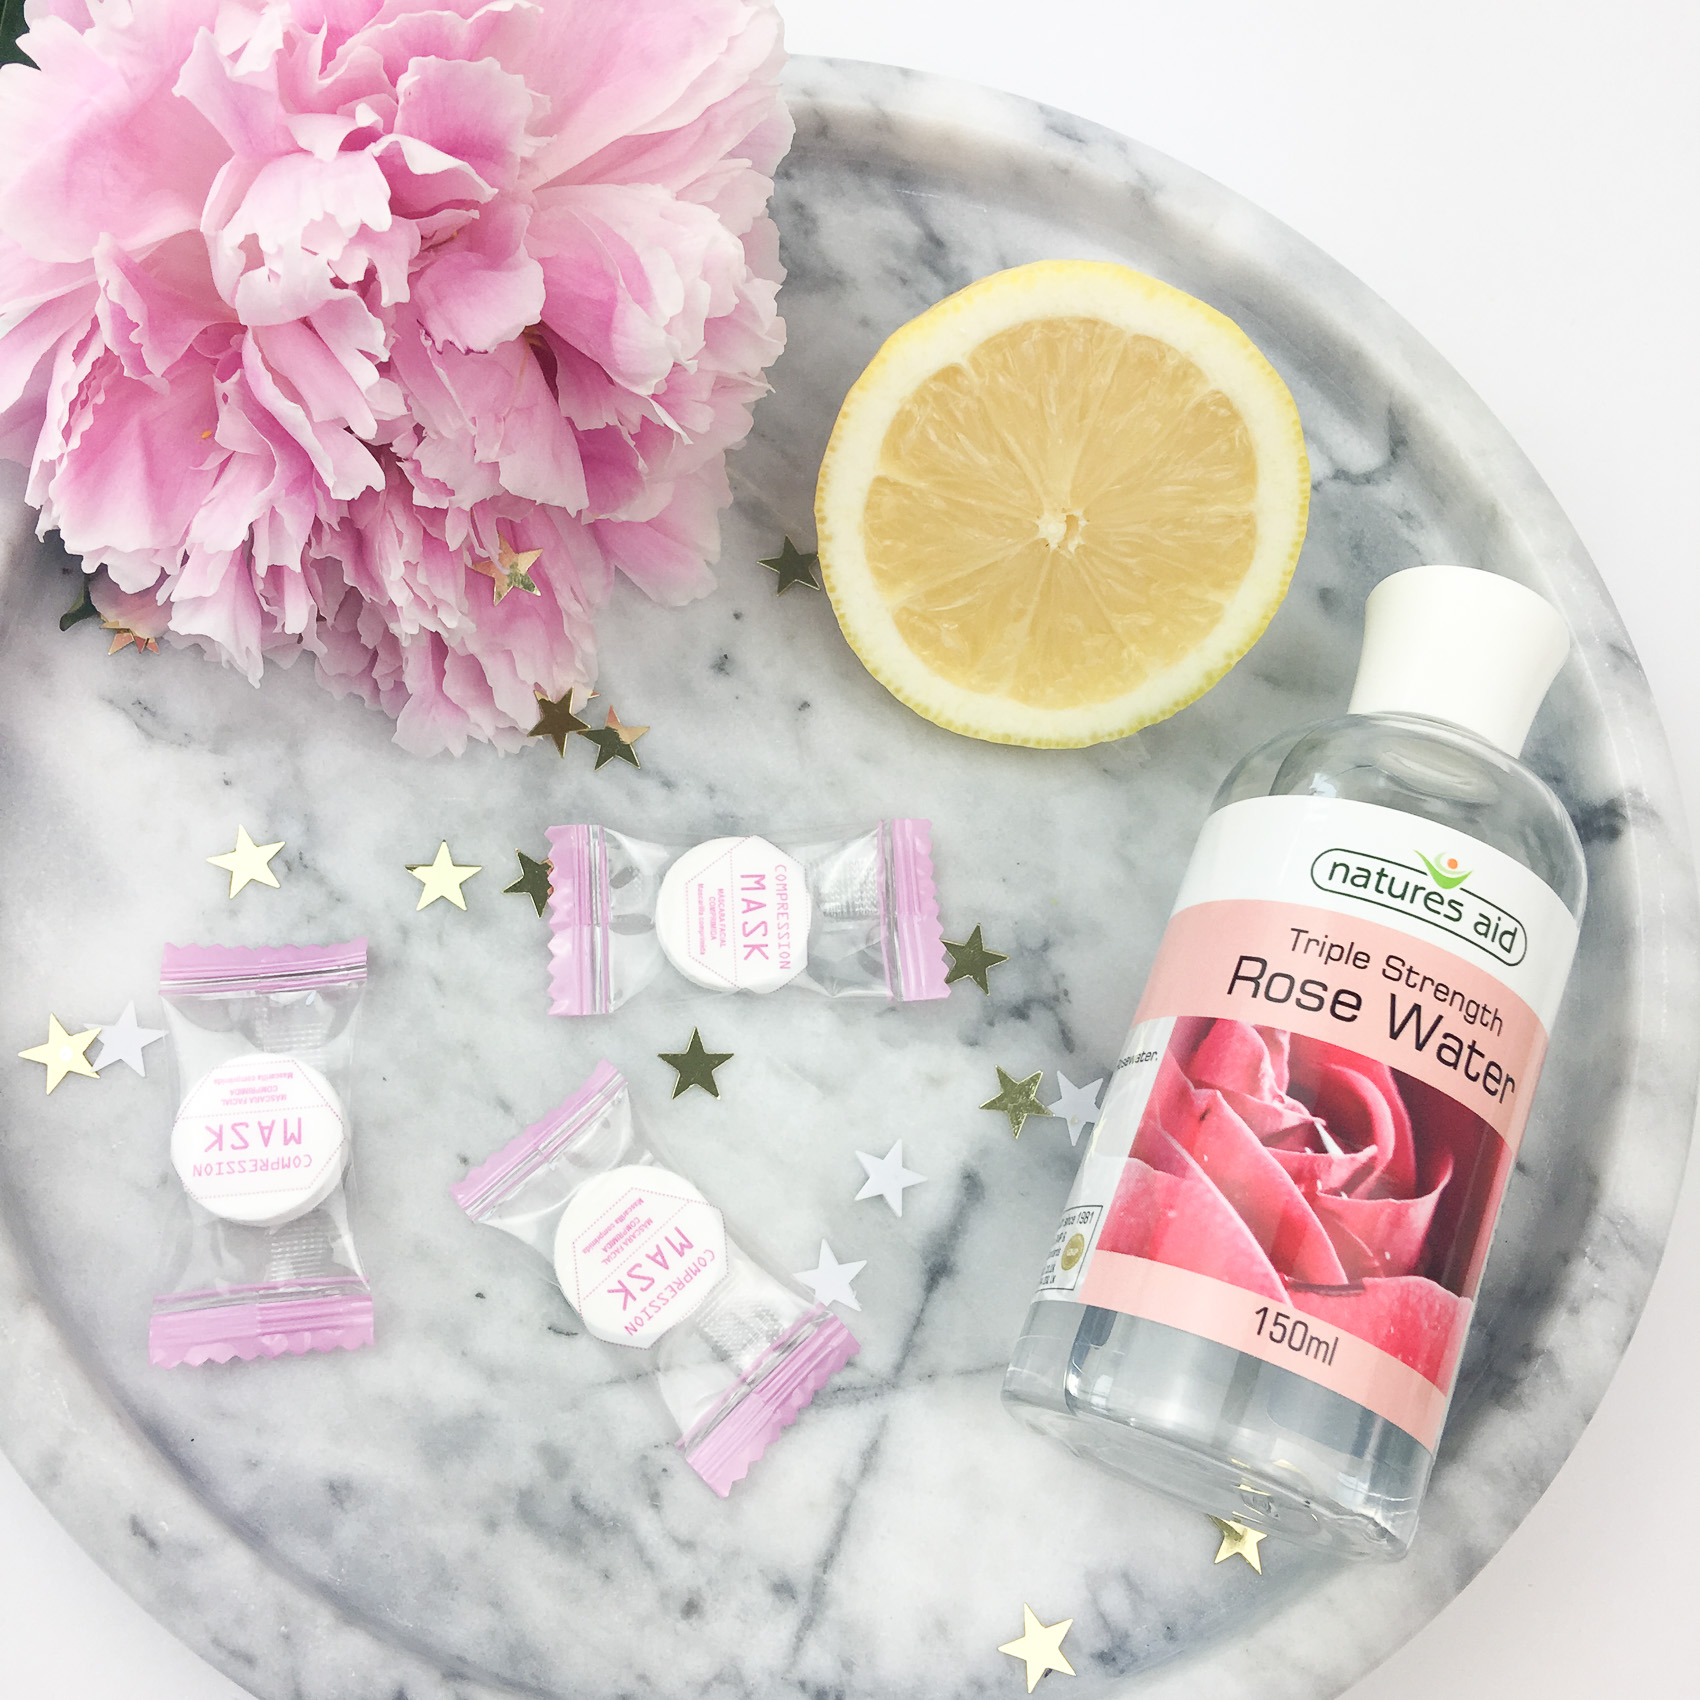
For Acne Scars
Ingredients
- 1 teaspoon of aloe vera gel
- 3 tablespoons of rose water
Sticking to the acne theme, this is a great mask to help deal with acne scars. The rose water reduces inflammation while the aloe vera gel is rich in amino acids that help to nourish the skin. My skin scars very easily when I get spots and it takes such a long time for the scars to heal afterwards, so this is a mask I like to use regularly.
As with rose water, you can usually get aloe vera gel in most pharmacies or supermarkets these days. If you don’t find it there, you can get it on Amazon of course (or Souq.com if you are in the UAE – that’s where I got mine), or if your aloe plant is more alive than mine is it would be even better to just scrape some aloe out of that!
To Brighten Your Skin
Ingredients
- 1 teaspoon of raw honey
- 2 tablespoons of rose water
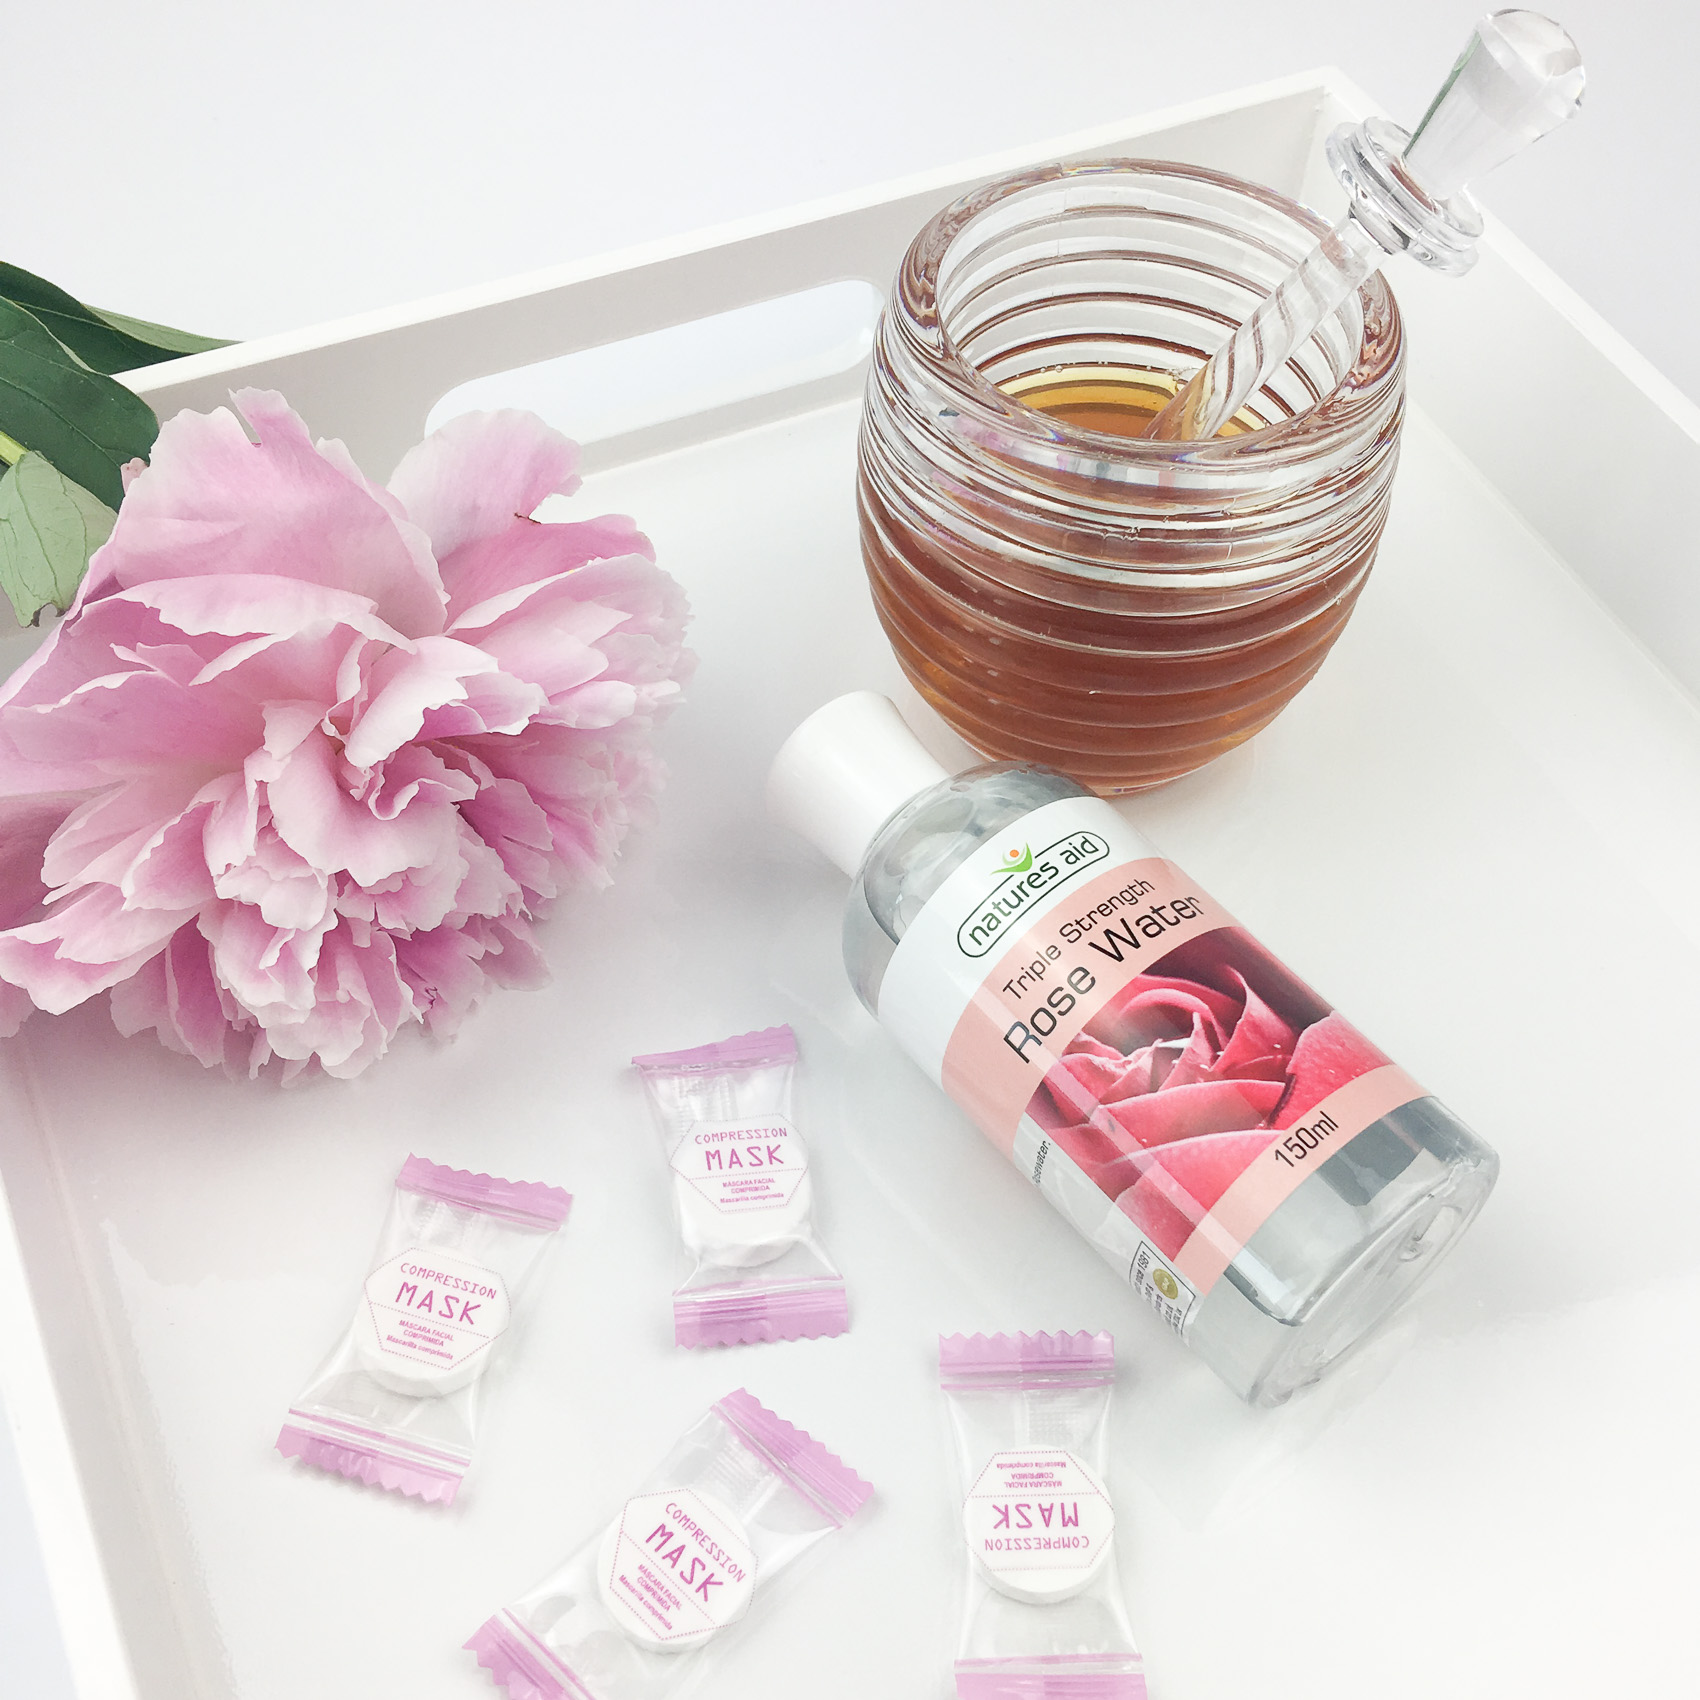
Honey has skin lightening properties so it is great at making your skin appear brighter and fresher. You could also add a teaspoon of honey to the acne solution above to help lighten the colour of scars. The rose water helps to even out skin tone and tighten pores, making your skin appear fresher and brighter.
For Sensitive Skin
Ingredients
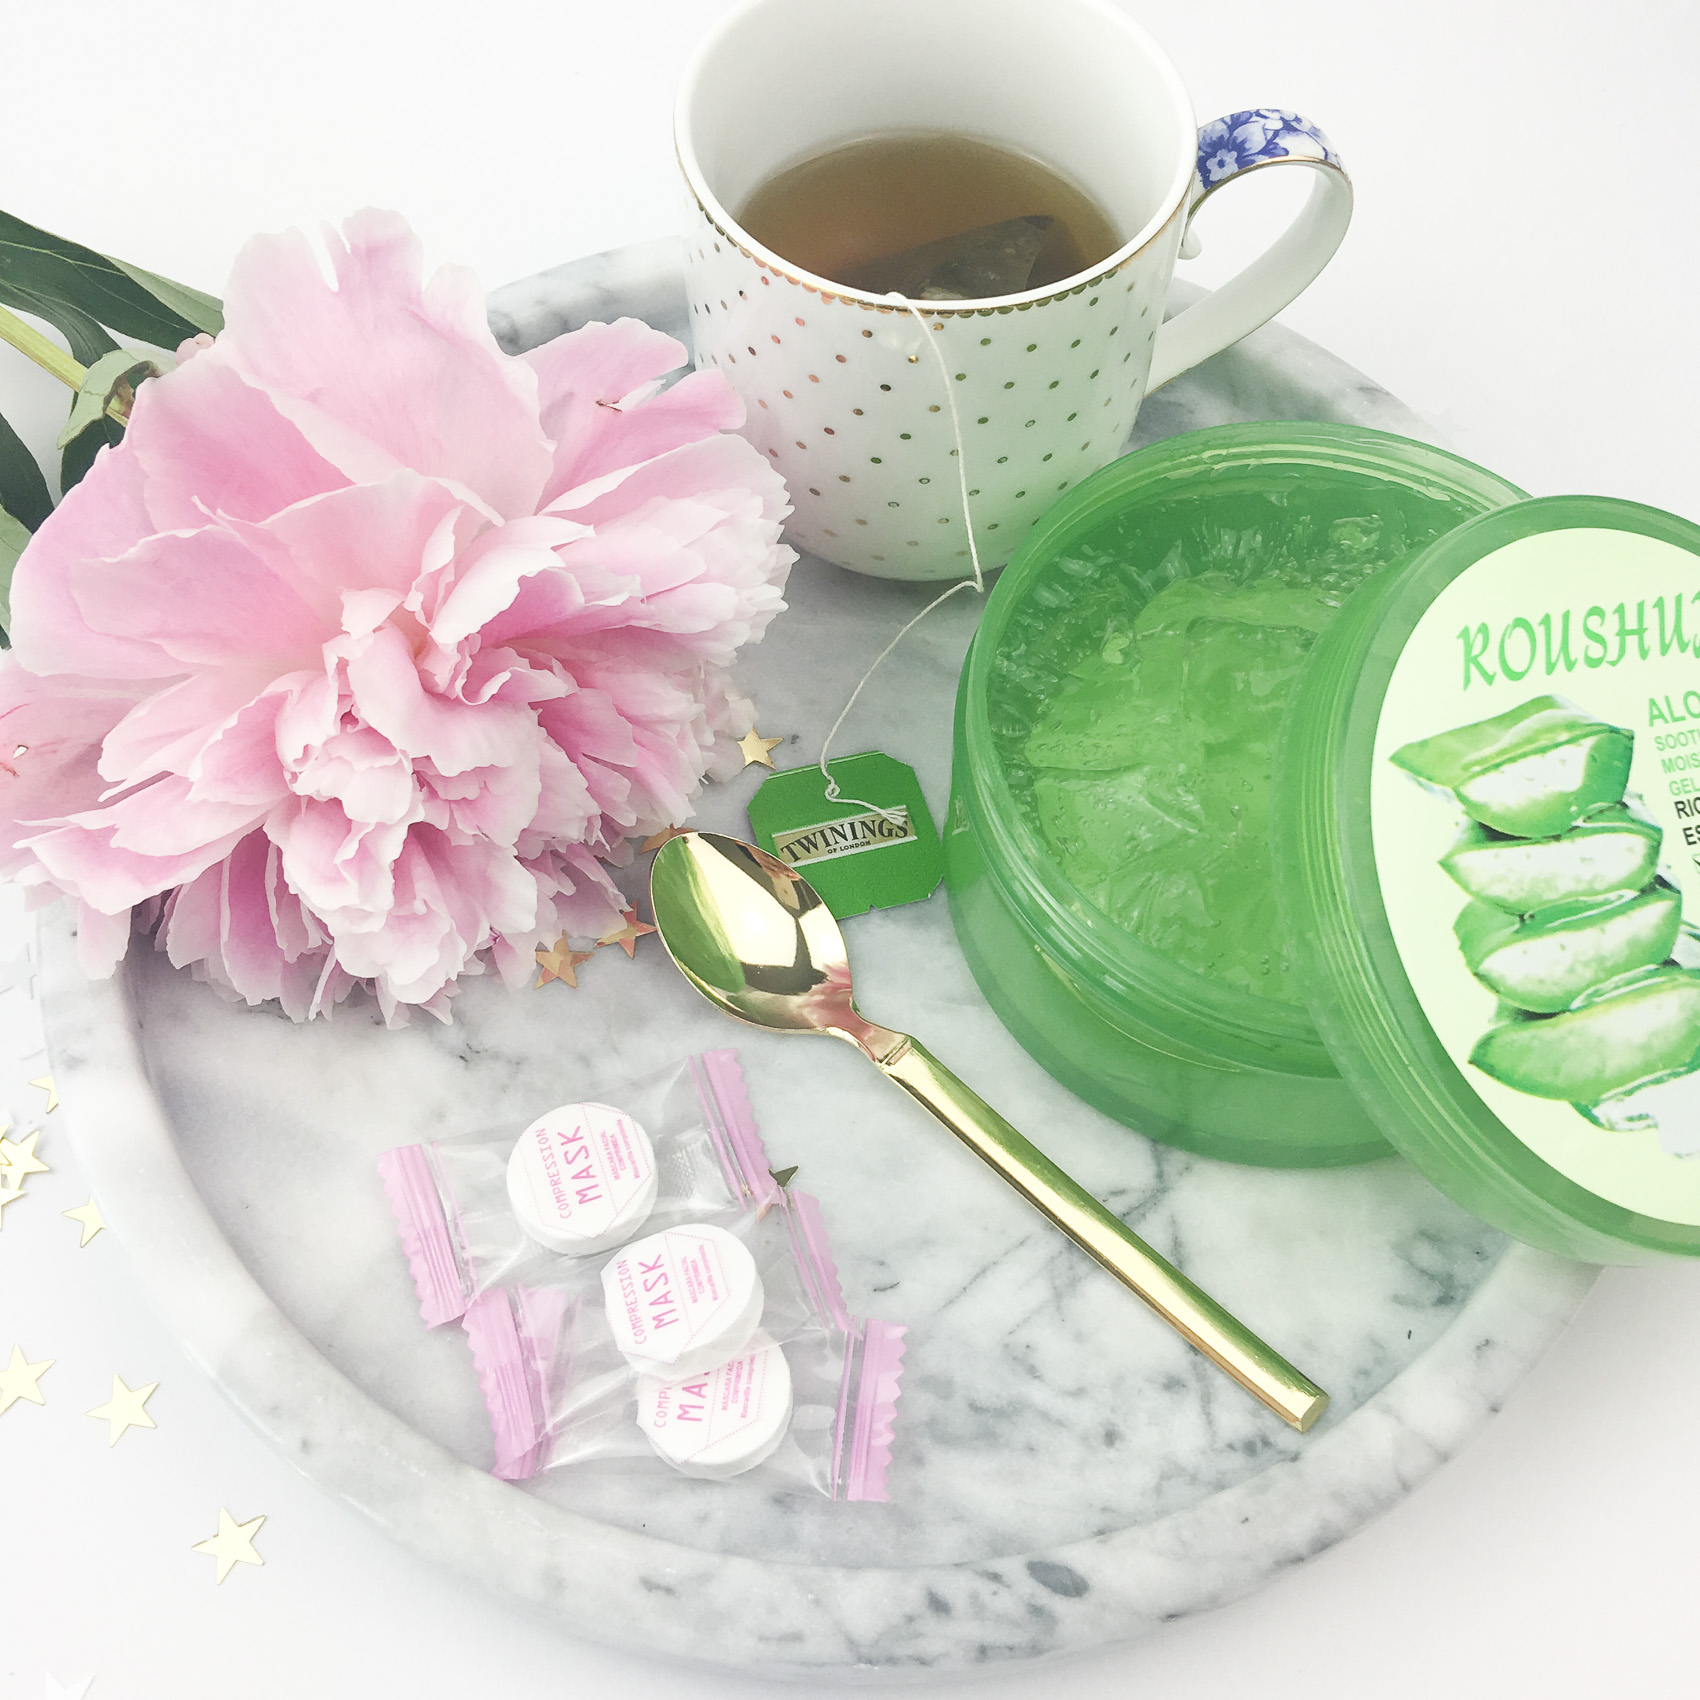
- 4 tablespoons green tea
- 1 teaspoon aloe vera gel
Green tea is full of anti-oxidants and can help improve the skins complexion. I just make a regular cup of green tea but I use less water in order to make it as strong as possible. Then I just take 4 tablespoons from it and add it to a teaspoon of aloe vera gel.
Aloe vera gel has got great skin healing properties, so this is a very nice and gentle mask which is perfect for sensitive skin, or days when you don’t want to use anything too harsh. For added hydration you could also add some aloe vera gel directly to your face before applying the mask.
To Refresh Your Skin
Ingredients
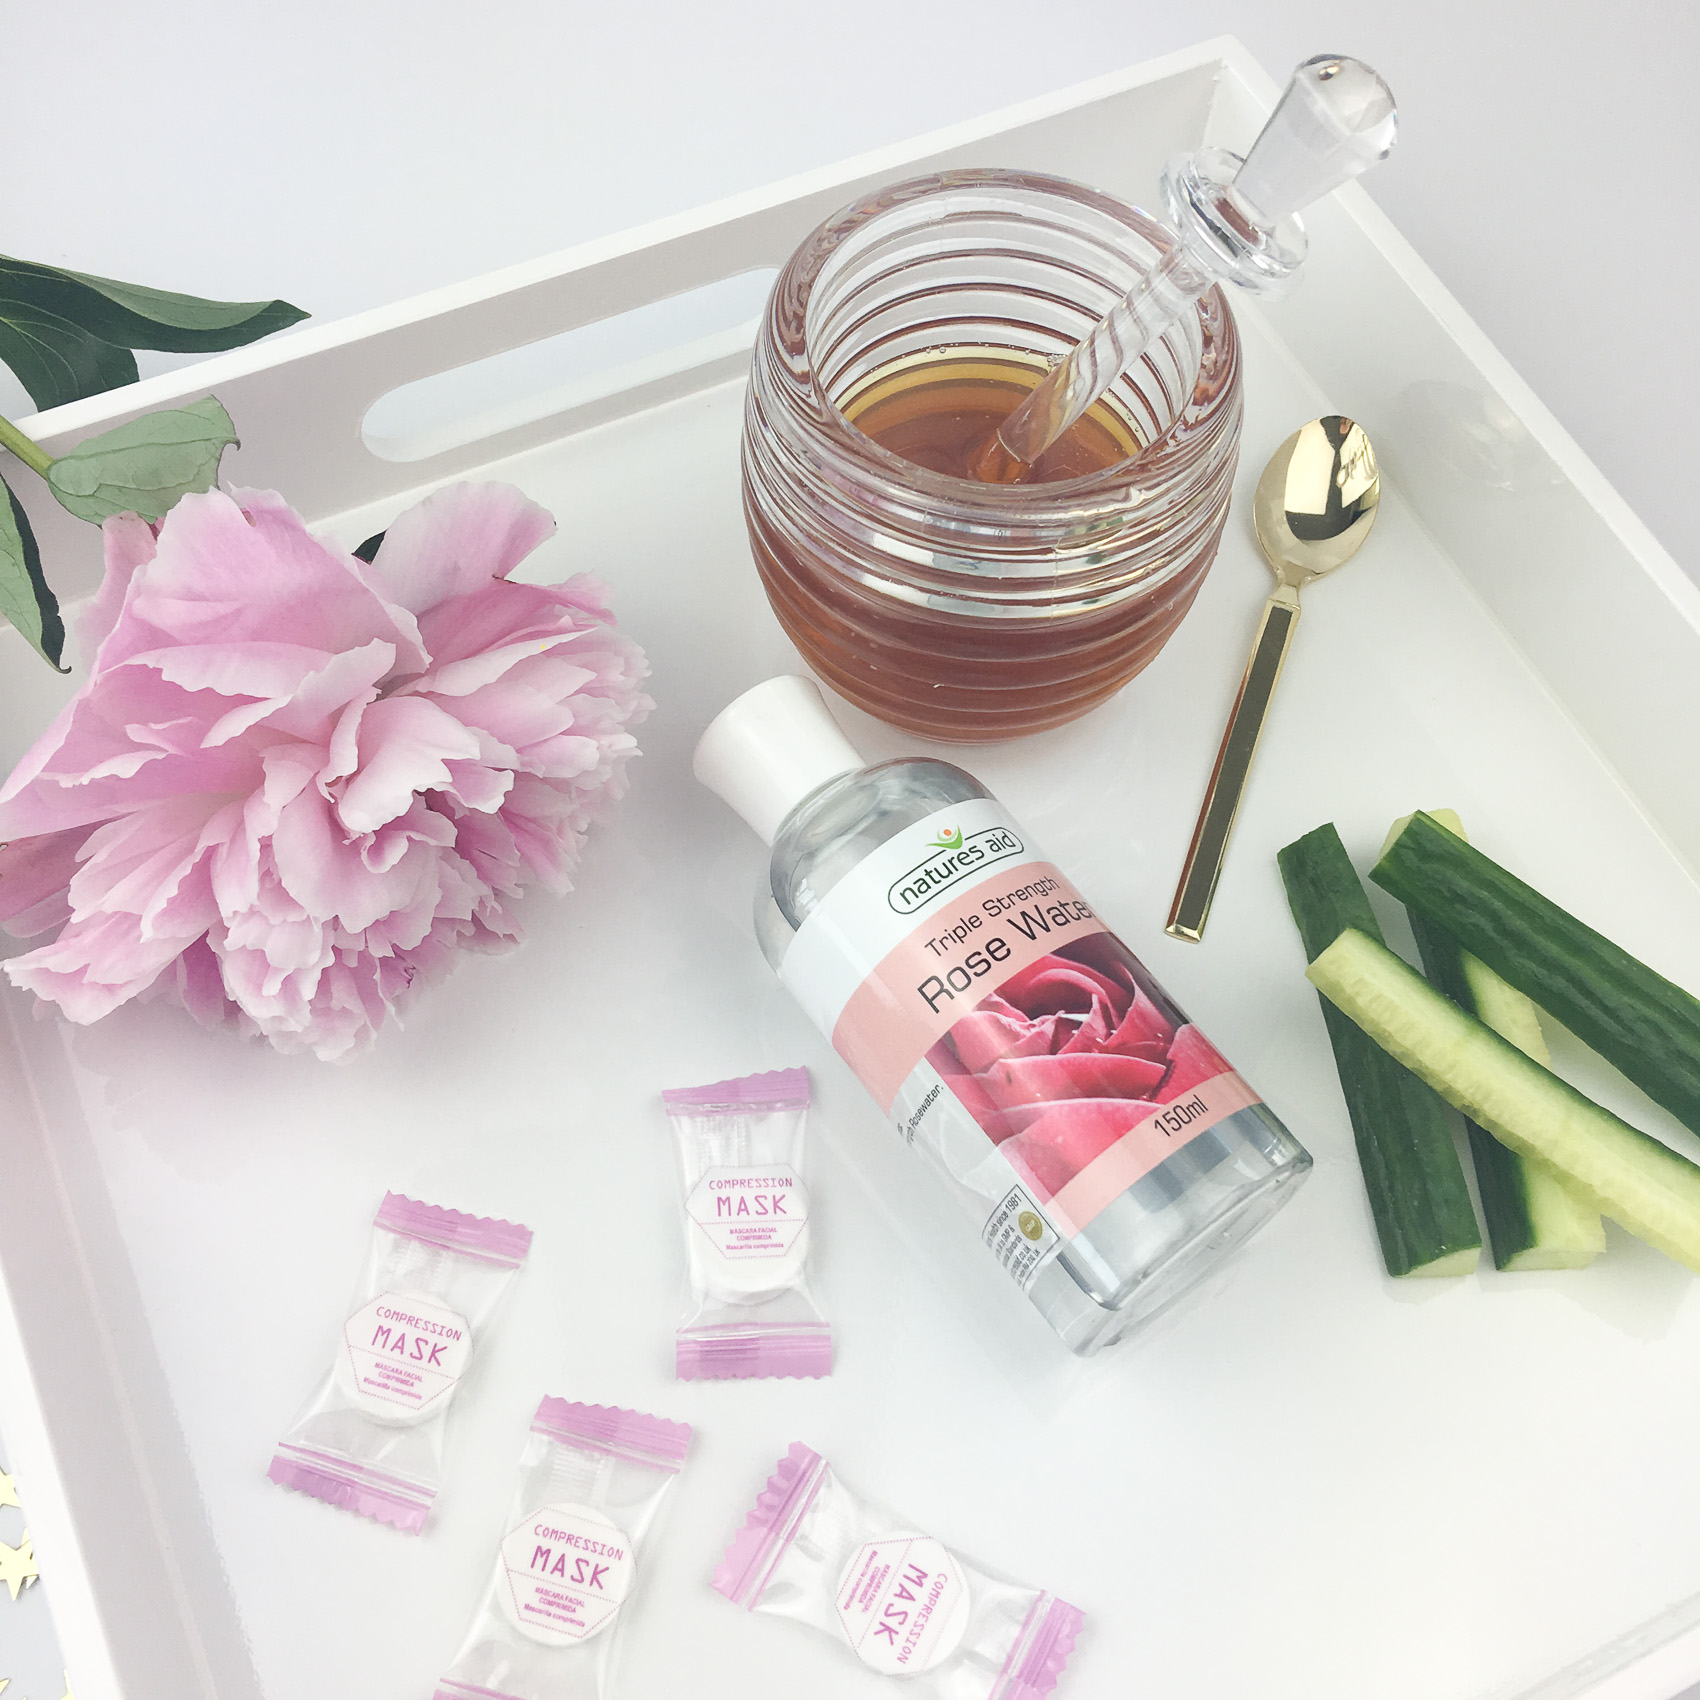
- 2 teaspoons of cucumber juice
- 1 teaspoon of raw honey
- 1 teaspoon of rose water
I found that about a 2 inch piece of cucumber, peeled, grated and strained made the perfect amount of liquid for this recipe. The cucumber is so, so cooling and makes my skin feel really fresh and hydrated. The honey brings the anti-bacterial element and the rose water hydrates and tones the skin.
To Exfoliate and Moisturise Your Skin
Ingredients
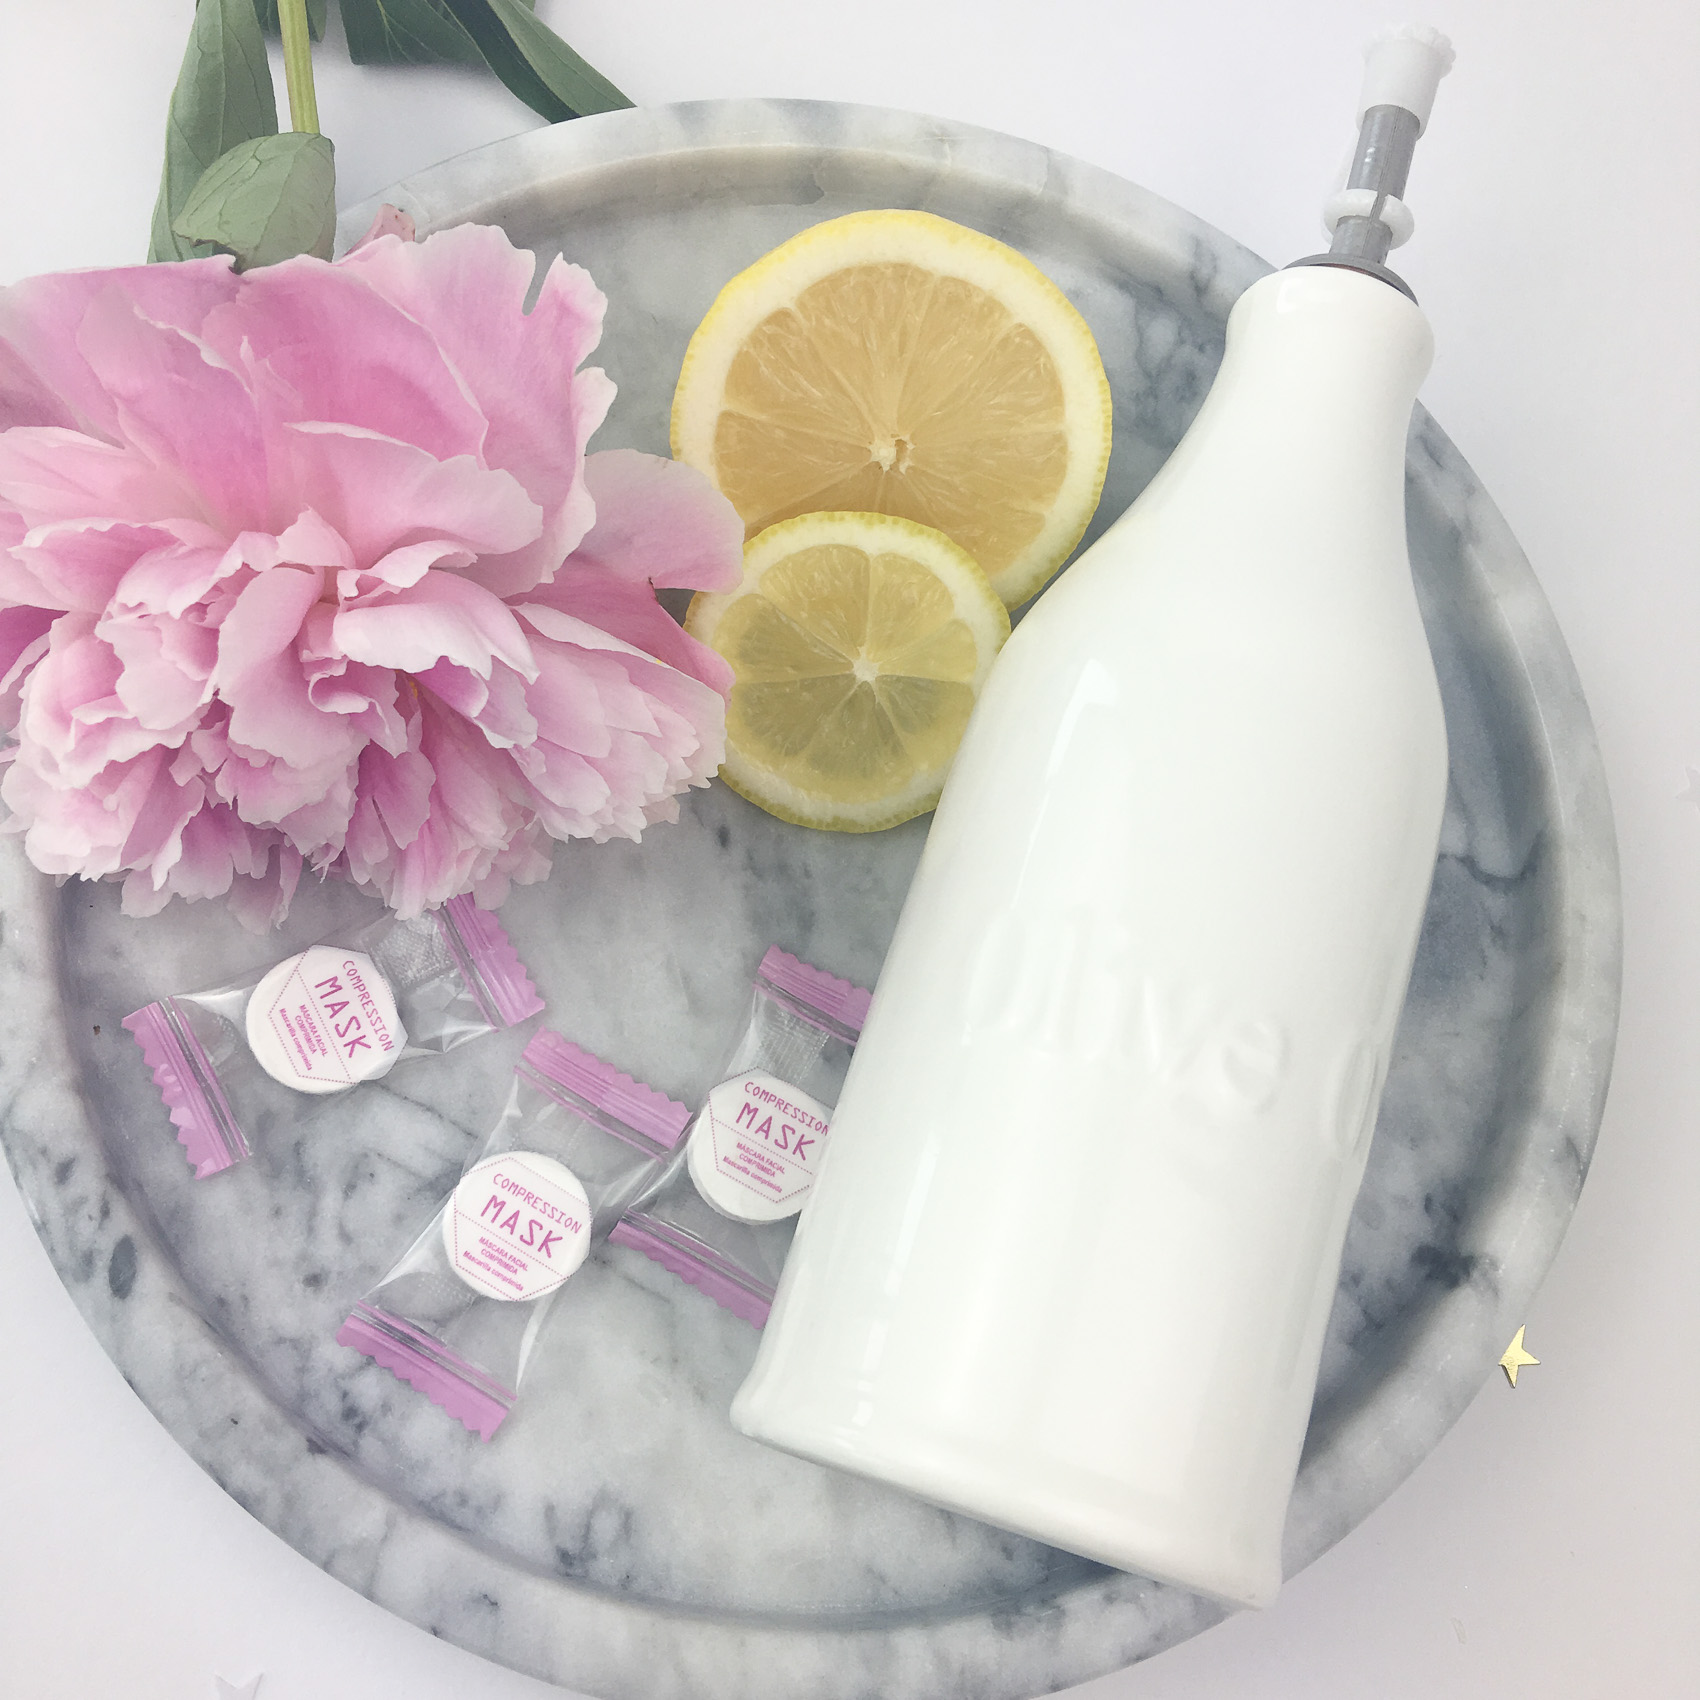
- 2 tablespoons of lemon juice
- 1 tablespoon of olive oil
Lemon juice is a natural alpha hydroxy acid that removes dead skin cells. It is therefore a great ingredient to use for a gentle exfoliation. The olive oil helps to restore skin and moisturise it after the lemon removes the dead skin cells.
For Dry Skin
Ingredients
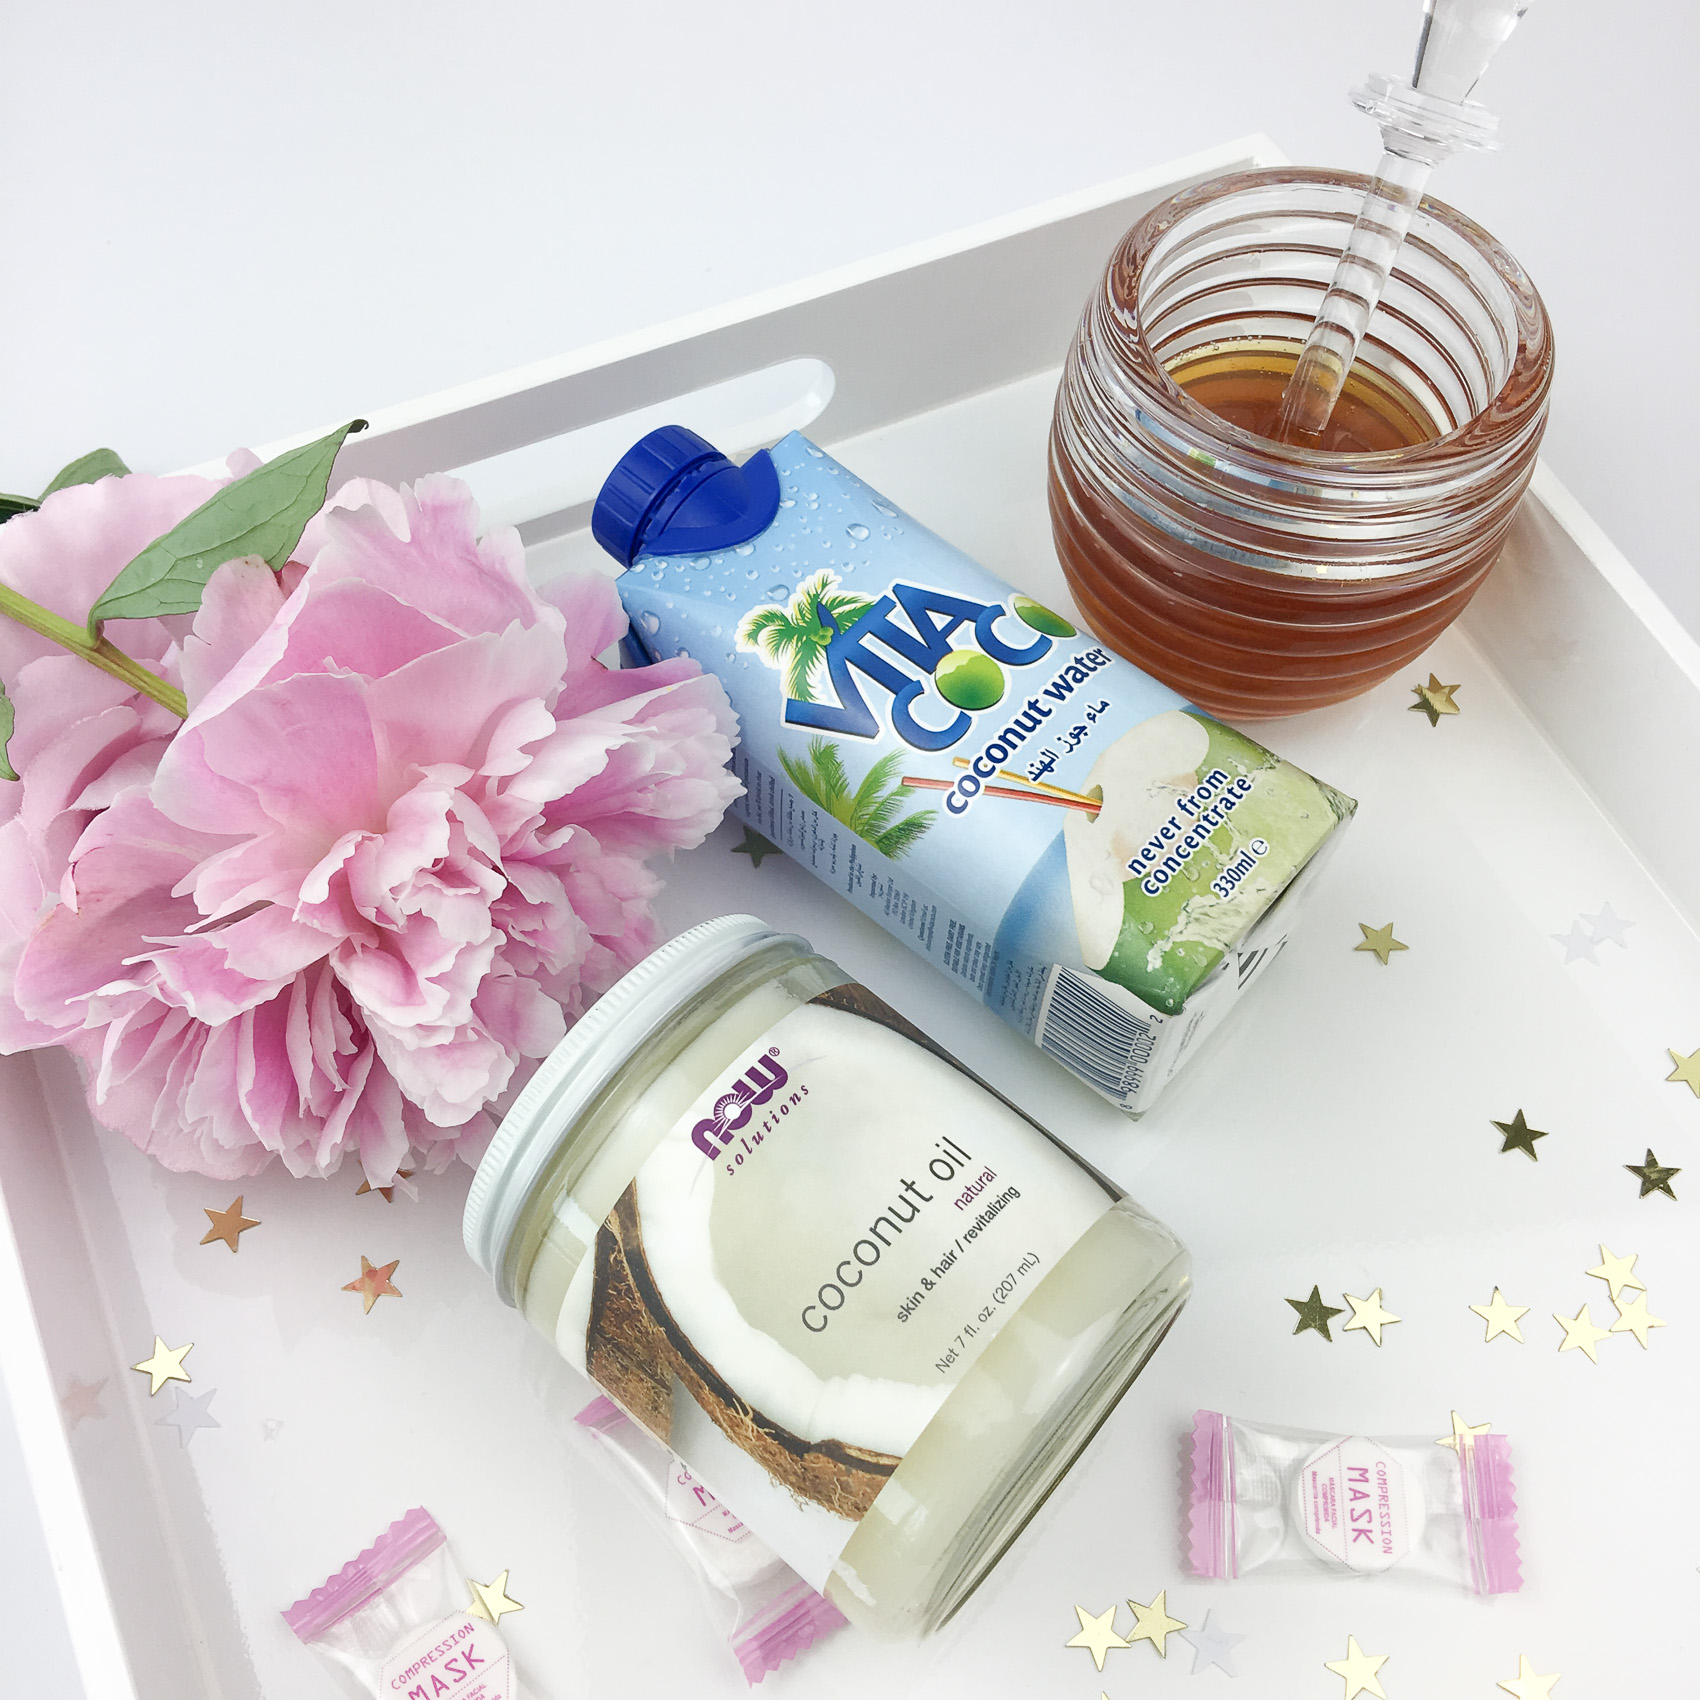
- 1 teaspoon of raw honey
- 1 teaspoon of coconut oil
- 1½ tablespoons of coconut water
The natural hydrating properties of coconut water and oil mixed with the moisturising properties of honey make this such a great mask for my dry skin. This one feels especially nice if the coconut water is extra cold when you add it to the mask. If your coconut oil is solid in the jar you can just warm it over a little heat in a pan until it melts enough for you to mix it with the other ingredients. The oil will pretty much solidify again once you add the other liquids so you need to act fast with this one lol!
To Soothe Your Skin
Ingredients
- 1 tablespoon of raw honey
- 2 tablespoons of milk
This is another one of my favourite face masks and it is also one of the simplest. I know it sounds strange to put milk on your face, but when it is mixed with the honey it has a really nice sweet scent and actually feels really lovely on my face. The lactic acid in the milk helps to soothe and hydrate the skin. This mask is particularly good for irritated or sun burnt skin. It is definitely one of the sticker masks to wear. For some reason the milk doesn’t break down the stickiness of the honey as much as the coconut or rose water, but that doesn’t stop me from using this mask. I love it!
Again, the honey adds the moisturising element to this recipe and mixed with the milk it is the perfect soothing face mask :).
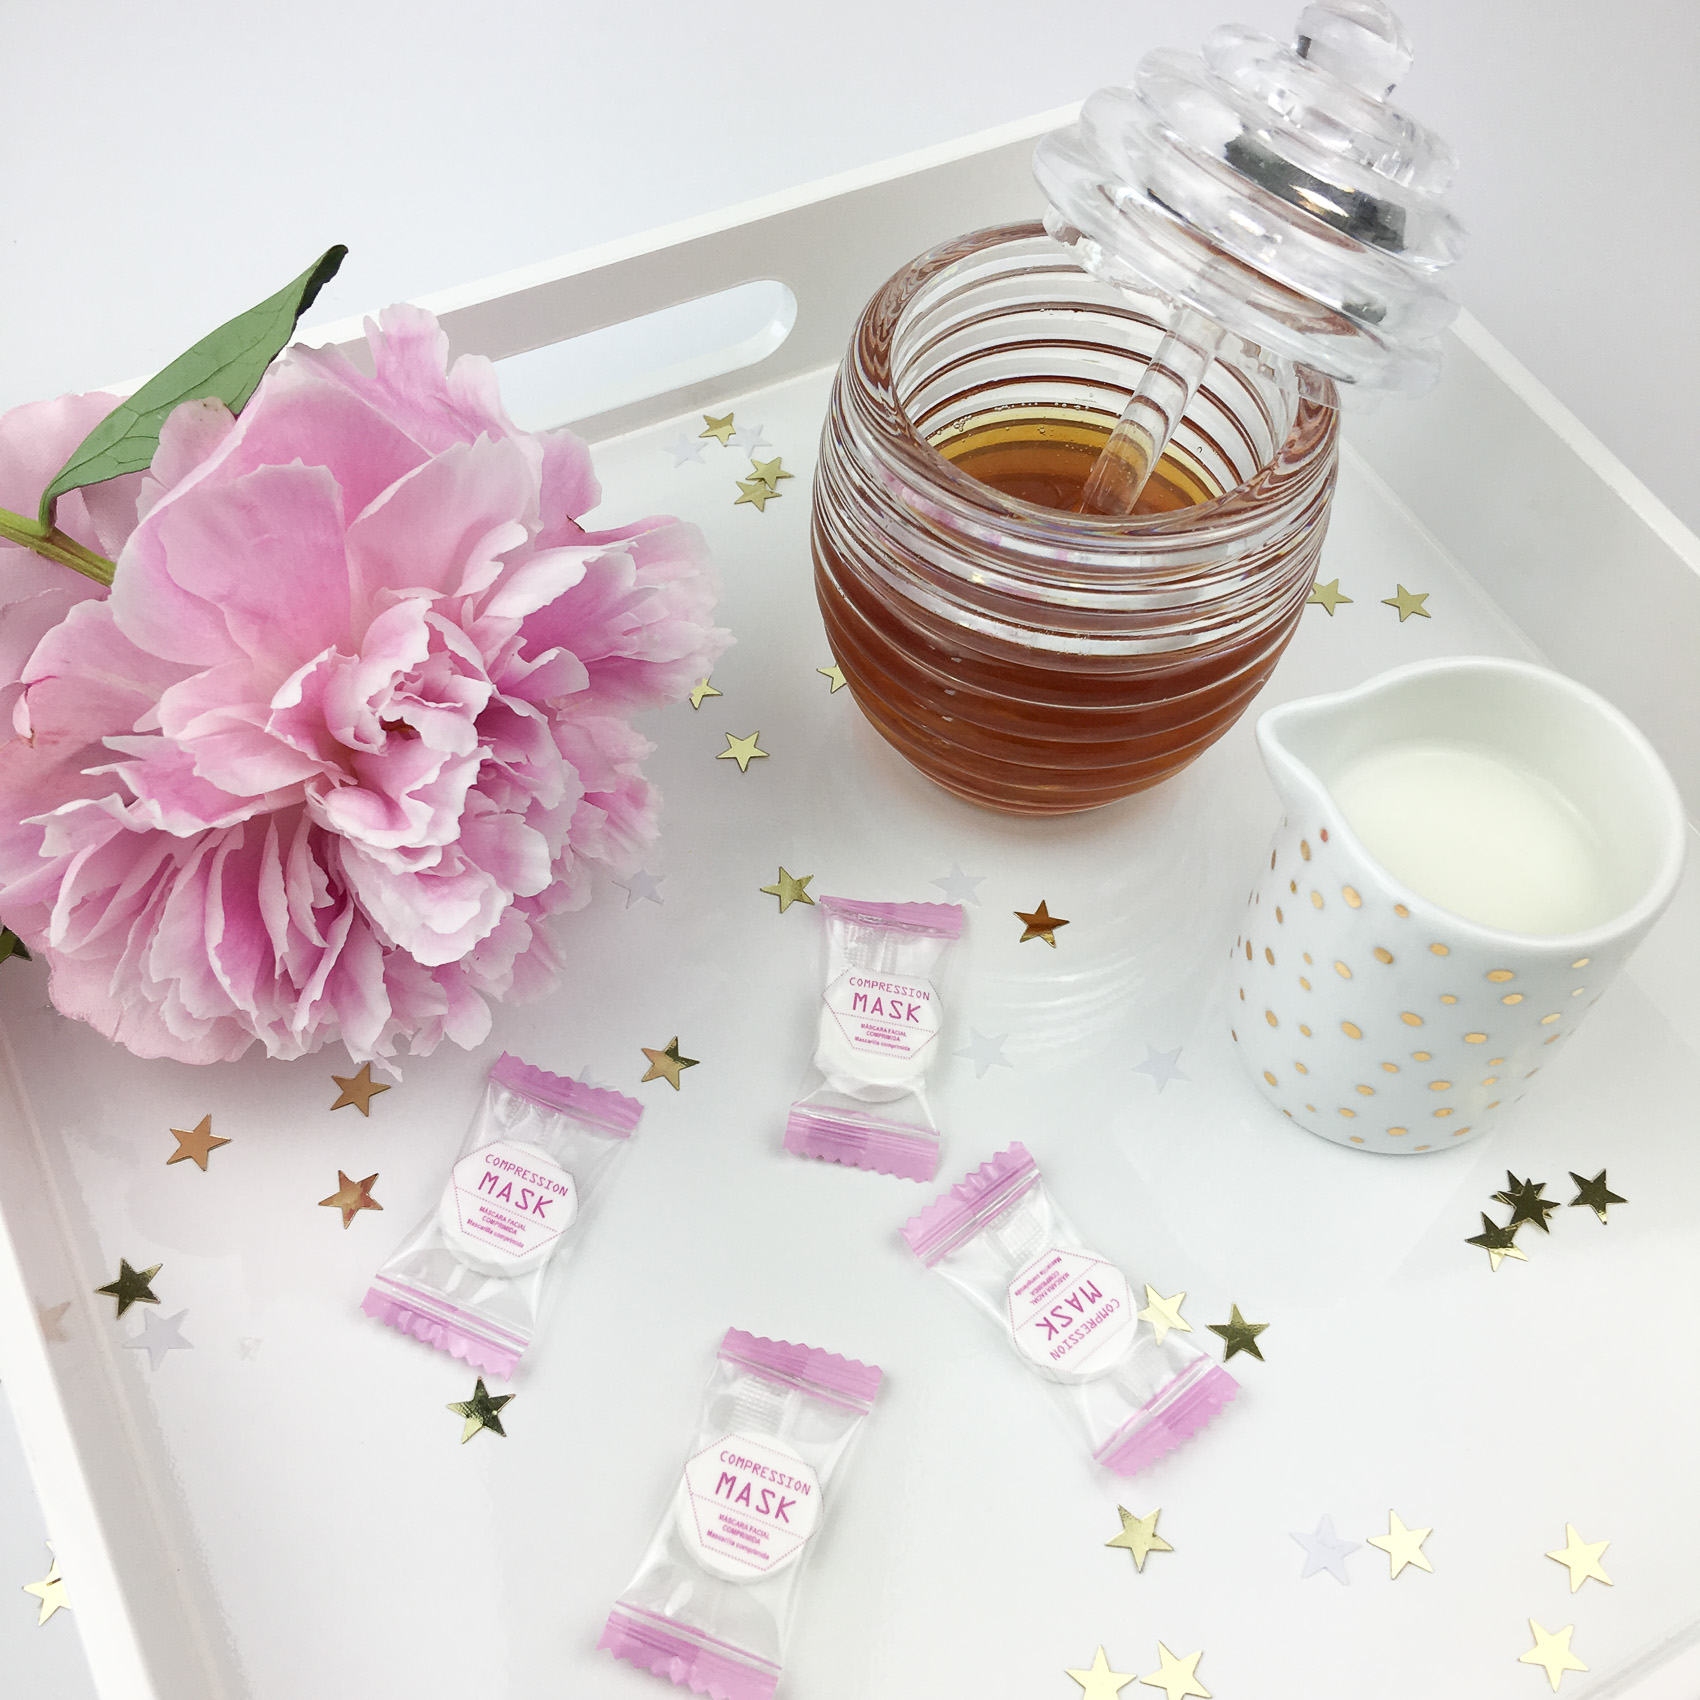
That’s it for this quick, cheap and easy DIY compressed masks blog post. I would love to hear if you have tried any of these mask recipes or what your favourite at home natural skincare recipes are.
Of course you could always use any kind of face serum that you have on these masks if you wanted to, but it would use up a lot of product in one go. Using these masks with natural ingredients is just a nice little supplement and boost to your usual skincare routine.
As always, there are links to where you can purchase everything within the ‘Shop’ section below 🙂
Have a great weekend everyone!
UPDATE: Champneys Health Spa recently contacted me to ask what my favourite DIY mask recipe is and they have mentioned me in one of their beautiful articles 🙂 you can read the full piece here.
SHOP THE POST

