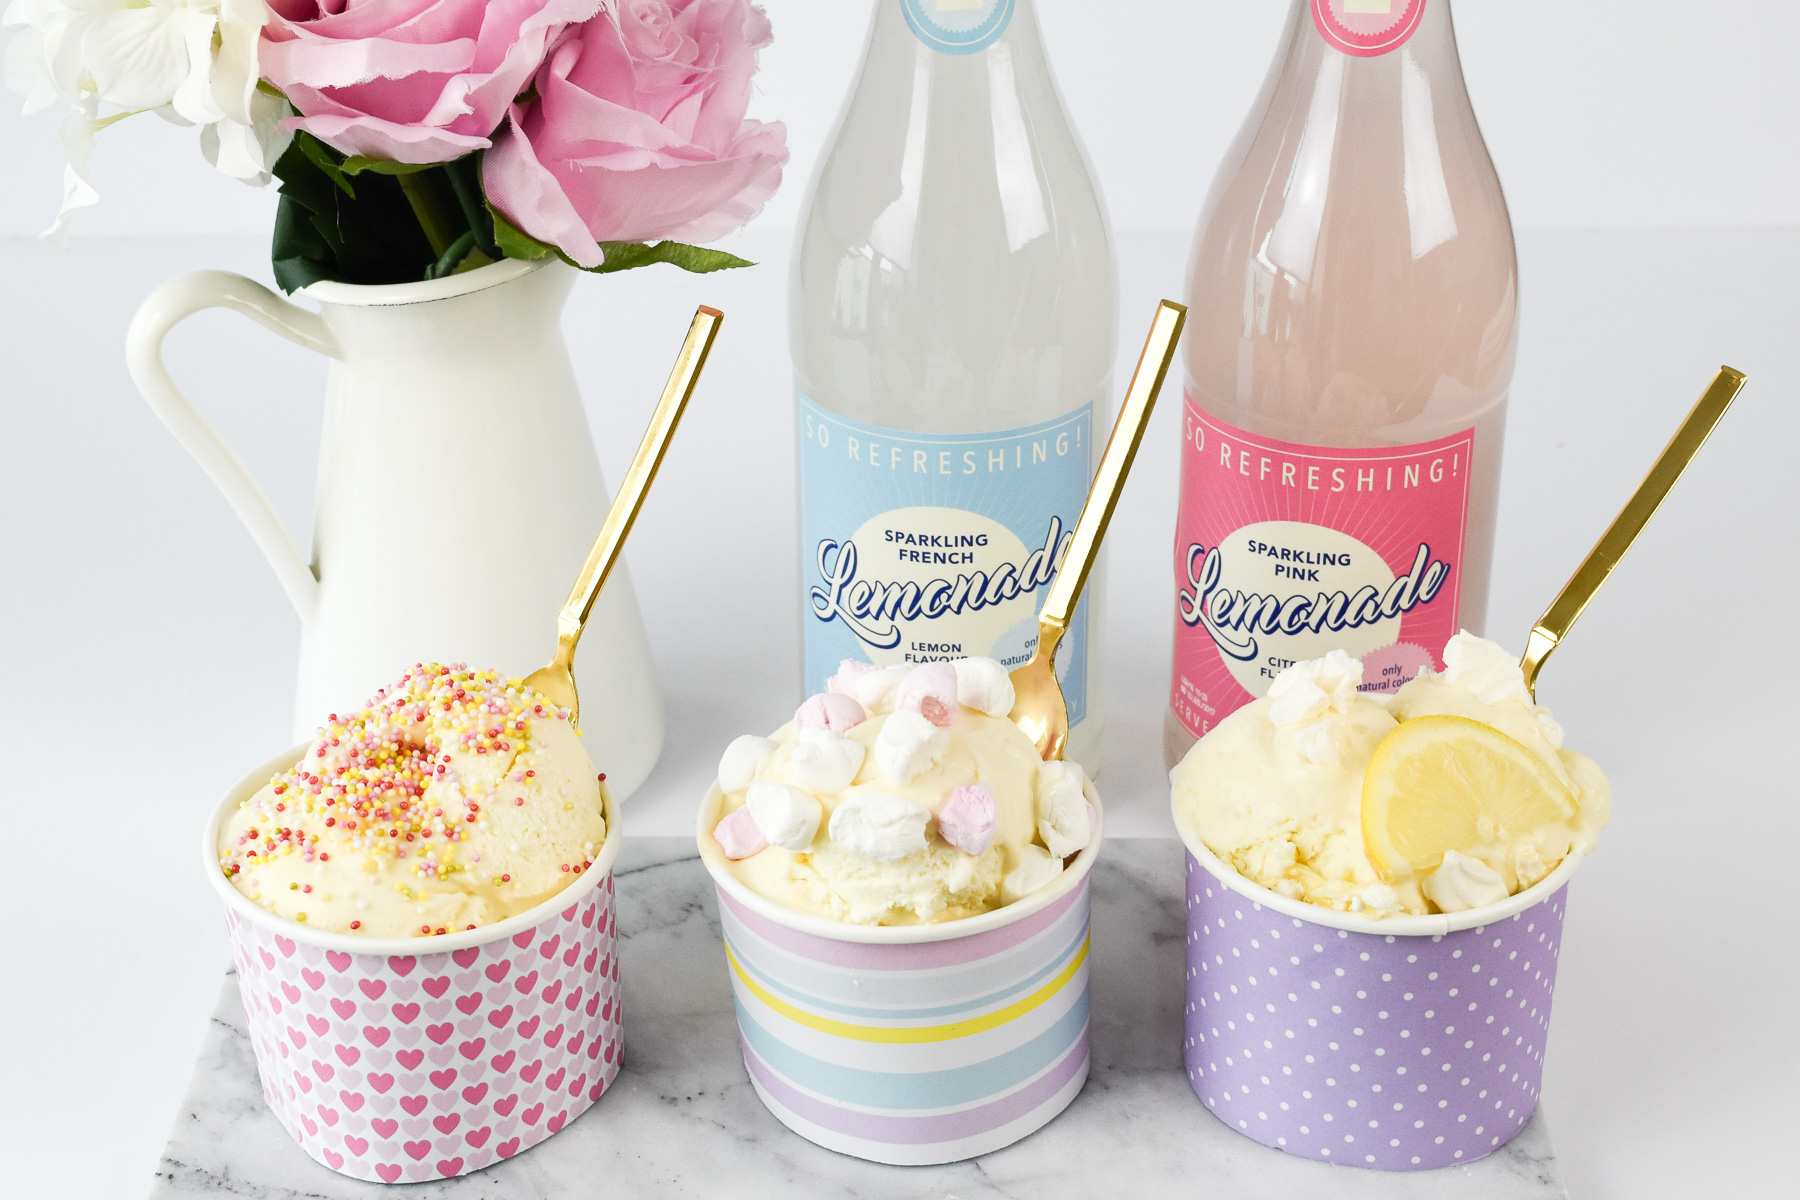
I was going to start this blog post off by saying, ‘when I was growing up, I absolutely loved ice-cream’, but a more appropriate (and honest) intro would be….. when I was growing up, and even more so now, I absolutely love ice-cream! Like a lot of Irish families, back in the day we used to pretty much always have ice cream for dessert on a Sunday lol. At that time, it would be a slice of ice cream, cut from a block of HB and sandwiched between two thin wafers….. delicious! My love for ice cream has not changed one bit since then.
Until about a year ago, I was under the illusion that the only way you could make homemade ice cream was to buy an actual ice cream machine. Unwilling to do this, I turned to YouTube where I came across Gemma Stafford’s baking channel; Bigger Bolder Baking. Much to my delight, I found a recipe for ‘no-machine ice cream’! All you need is a hand mixer or food processor (which most households already have these days!).
I must admit I was a bit unsure if this recipe could actually work, but trust me, it does!! I have made this no-machine ice cream for quite a few friends now and they have all really liked it – or so they tell me! Either way, I think it is delicious and with only 3 key ingredients needed, it is so, so easy (almost too easy) to make. Given the time of year it is, I thought it would be a great recipe to share. Here we go…….
Ingredients
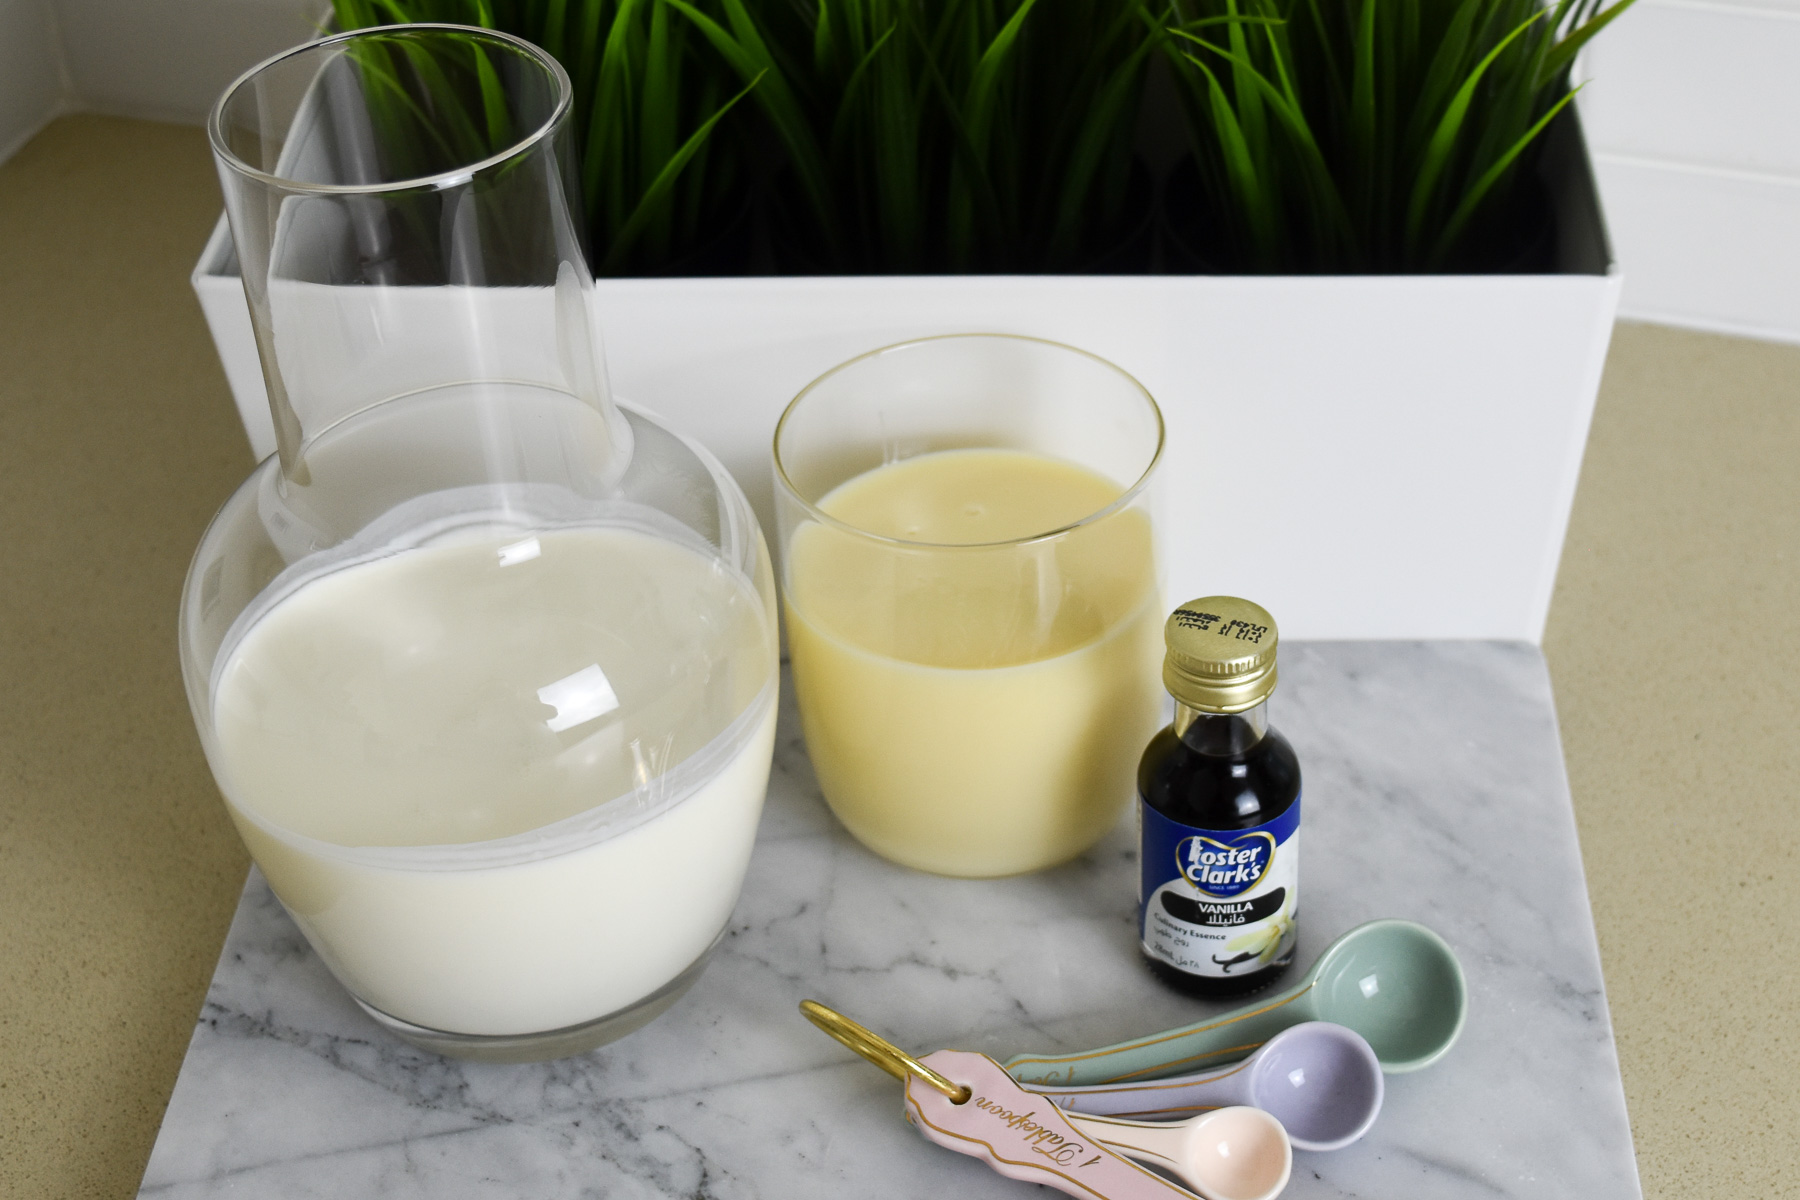
To make the base for the ice cream you will need 3 simple ingredients:
- 450ml of whipping cream
- 397ml (1 can) of condensed milk
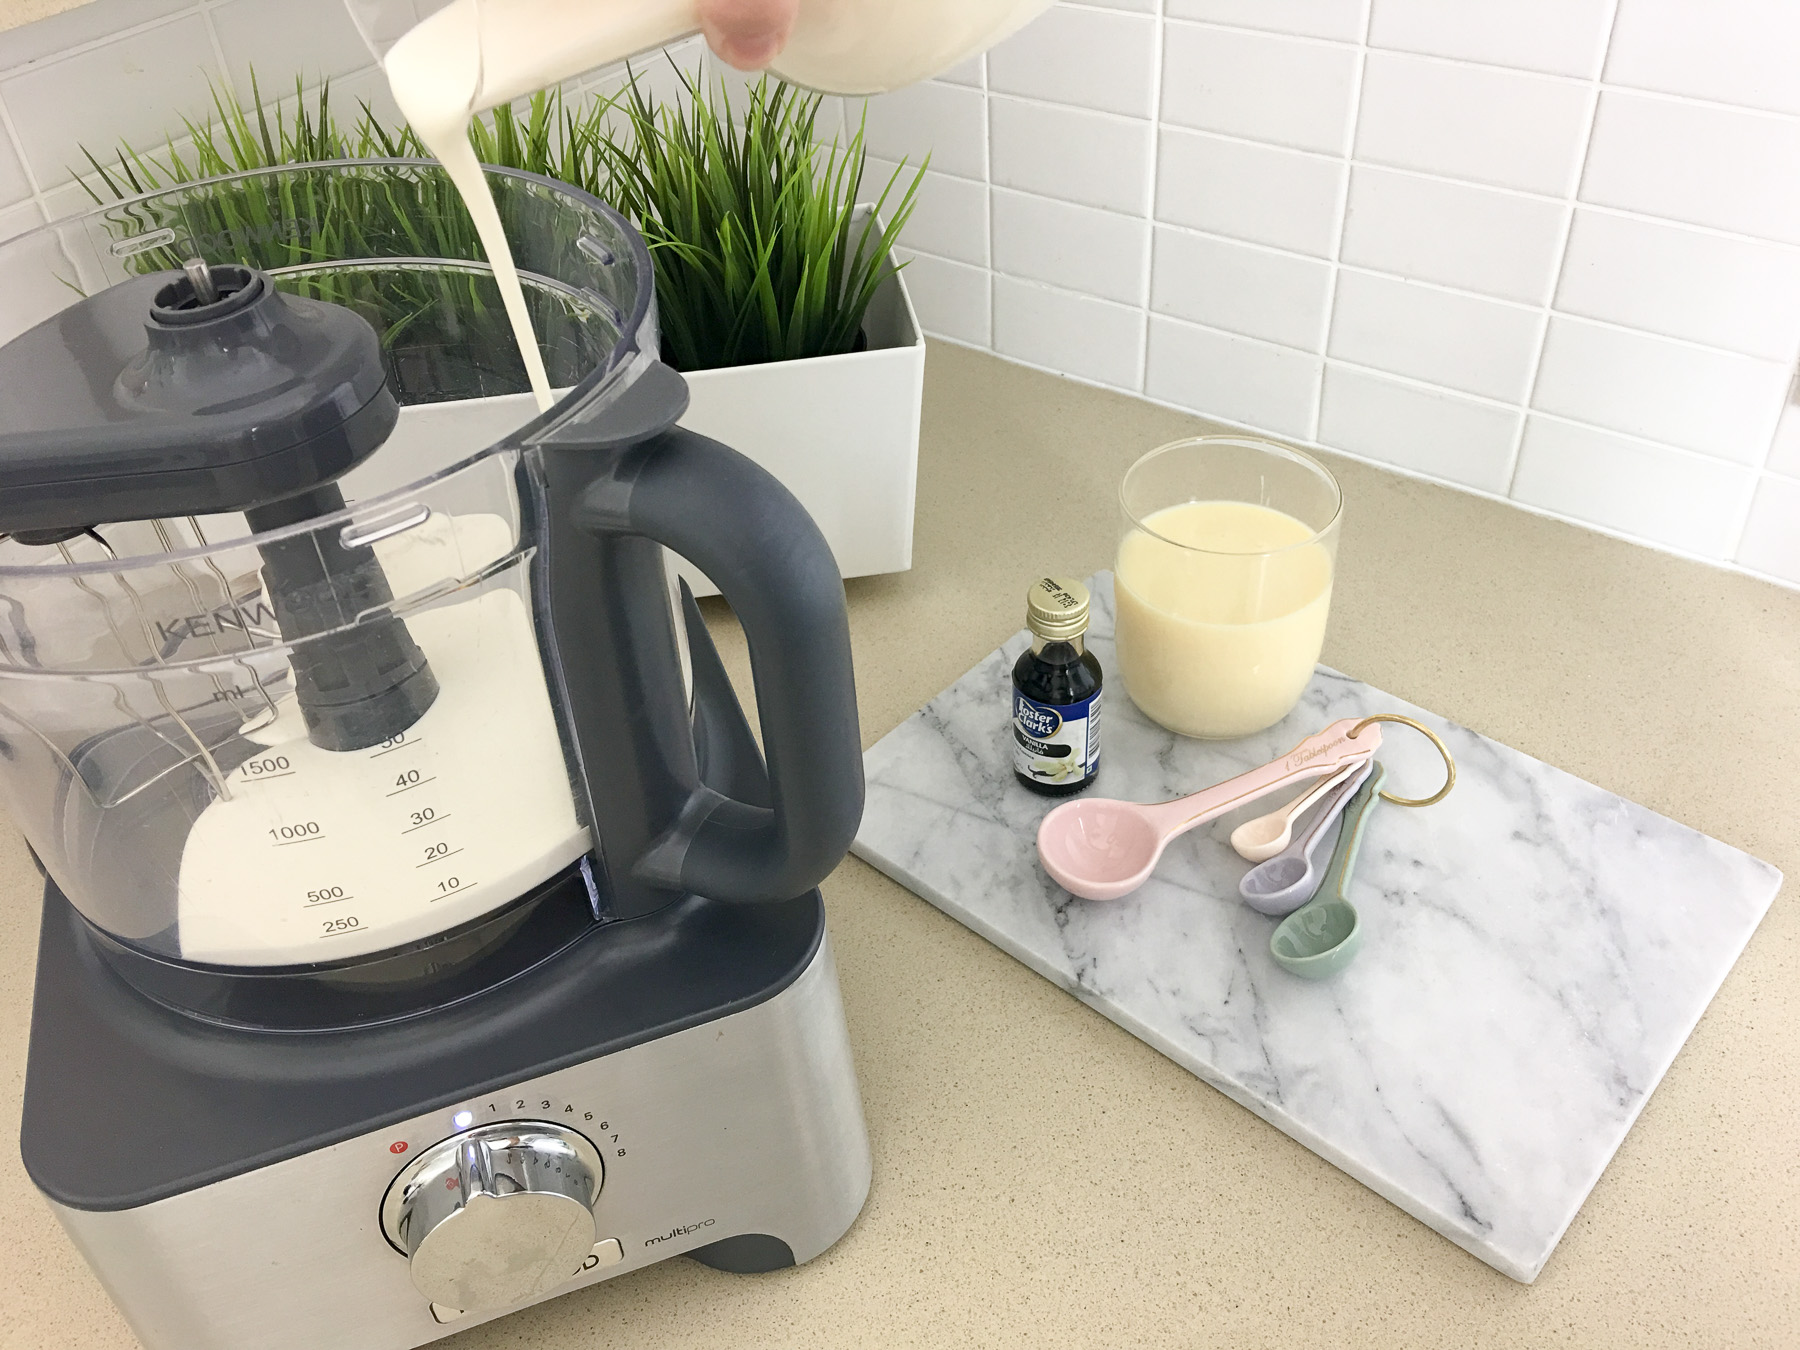
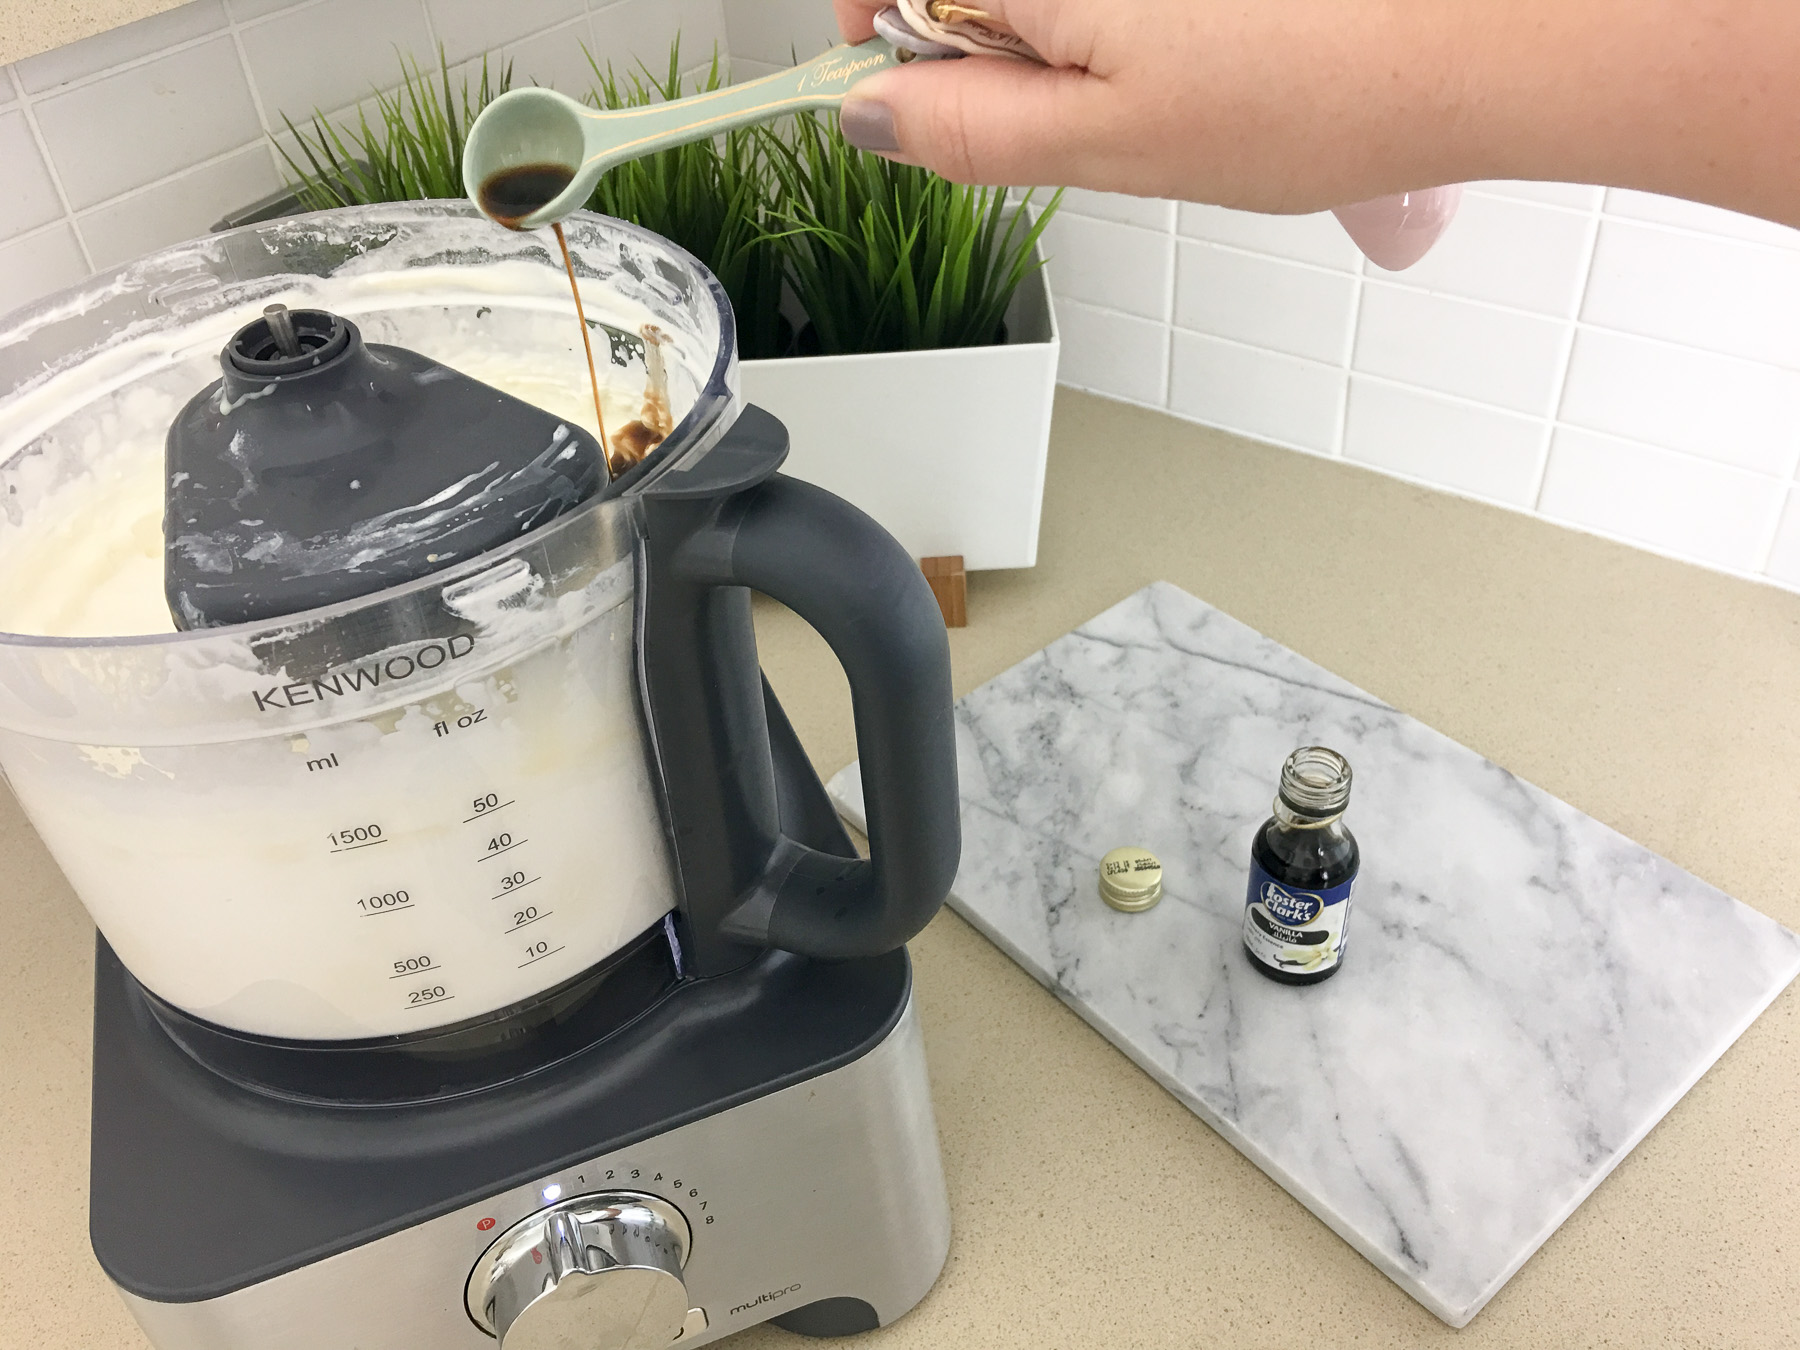
- 1 teaspoon vanilla essence
Step 1
Whisk the cream until soft peaks form.
Step 2
Add the condensed milk and vanilla essence to the whipped cream, and whisk again gently until all of the ingredients are combined. This really only takes a few seconds. The purpose of adding the vanilla essence is to stop the ice-cream from freezing solid and to make it scoop-able.
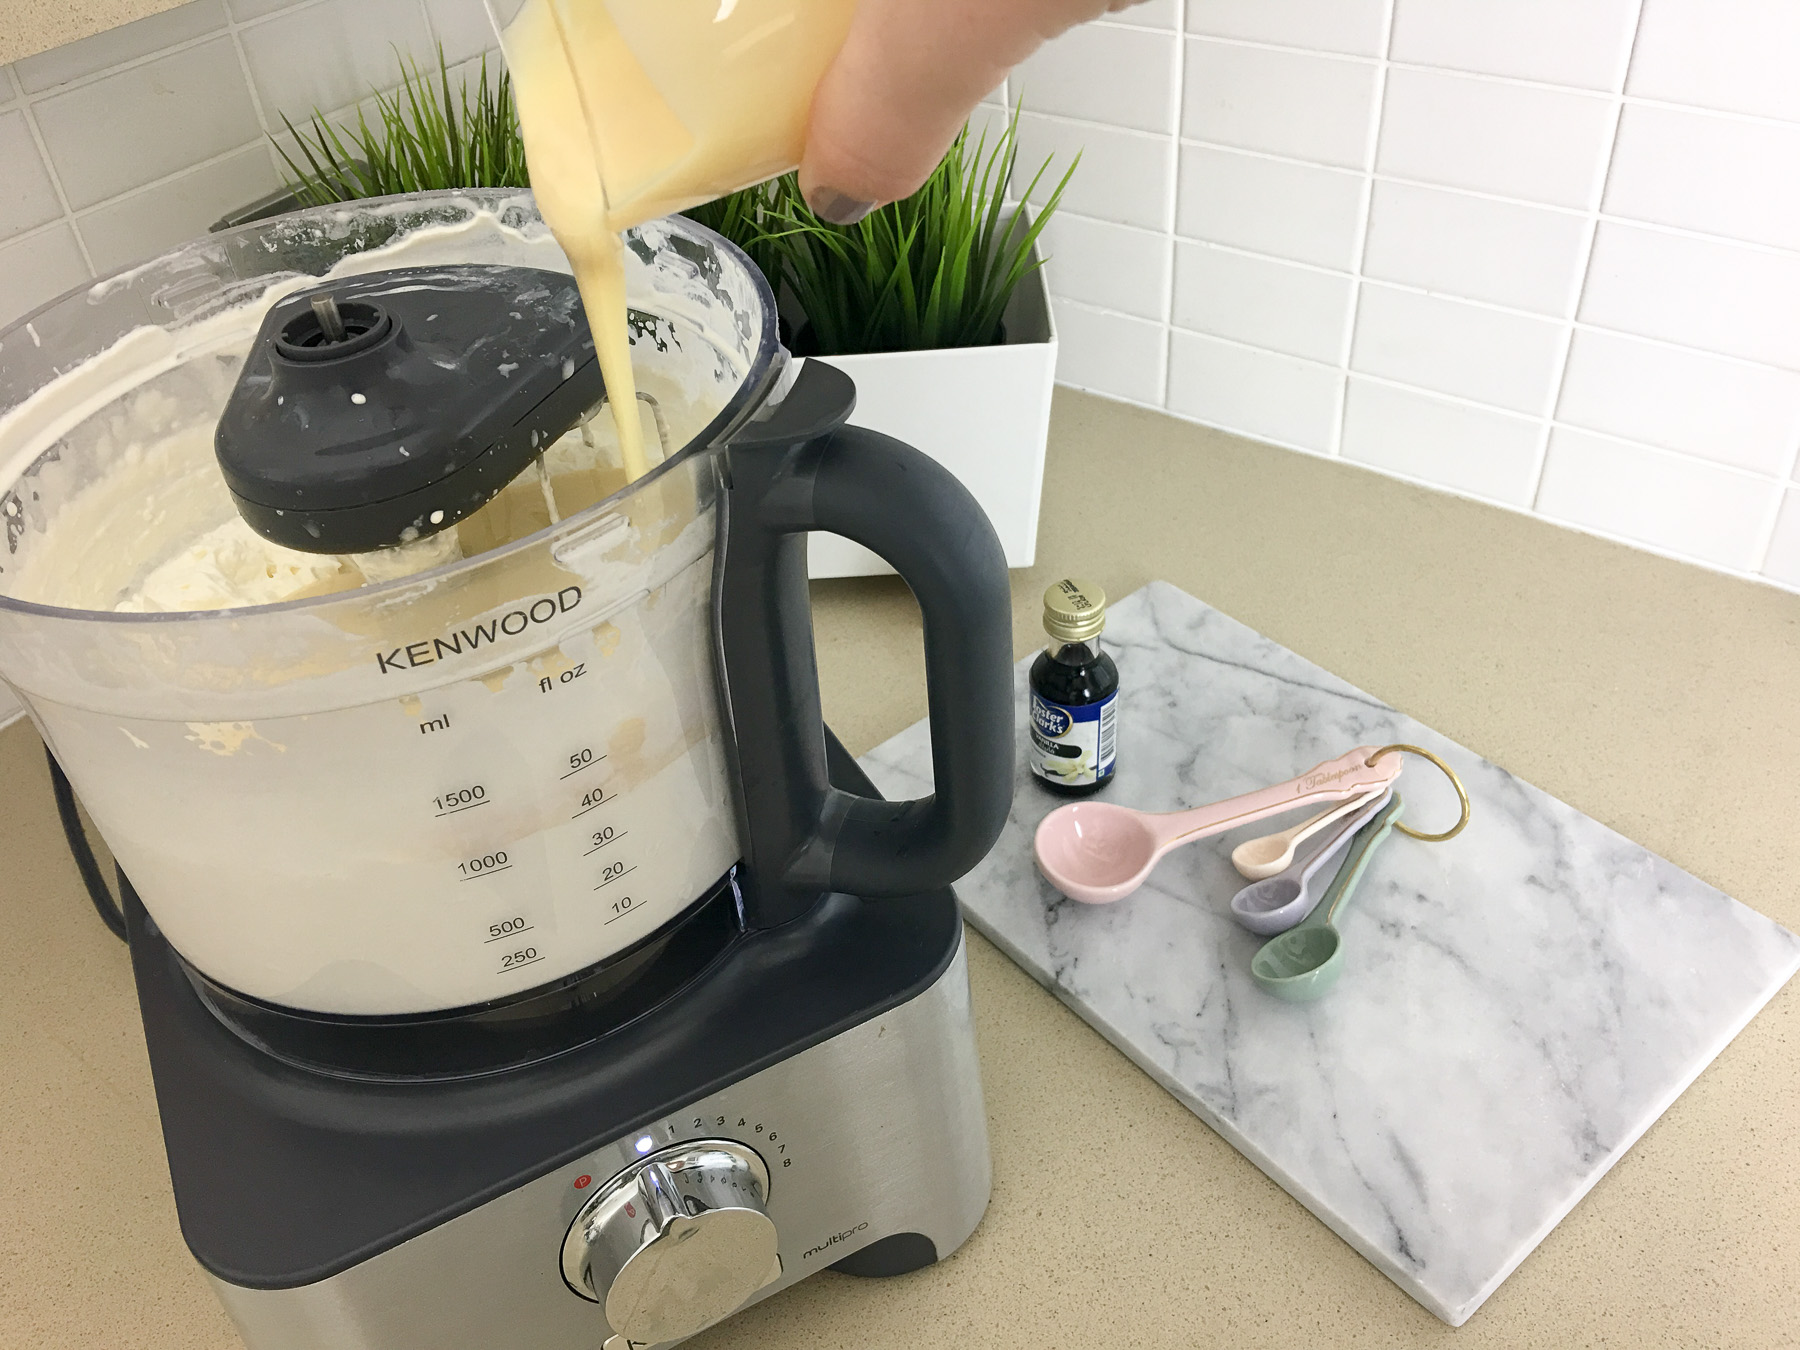
Step 3
At this point, you have your main ice cream base made and you can pour the mixture into an airtight container and freeze. I find that it works best if it is left to freeze overnight. The next day you can scoop it out and enjoy it! And that’s it! EASY! But if you are feeling a little more creative, you can move onto Step 4.
Step 4 (optional)
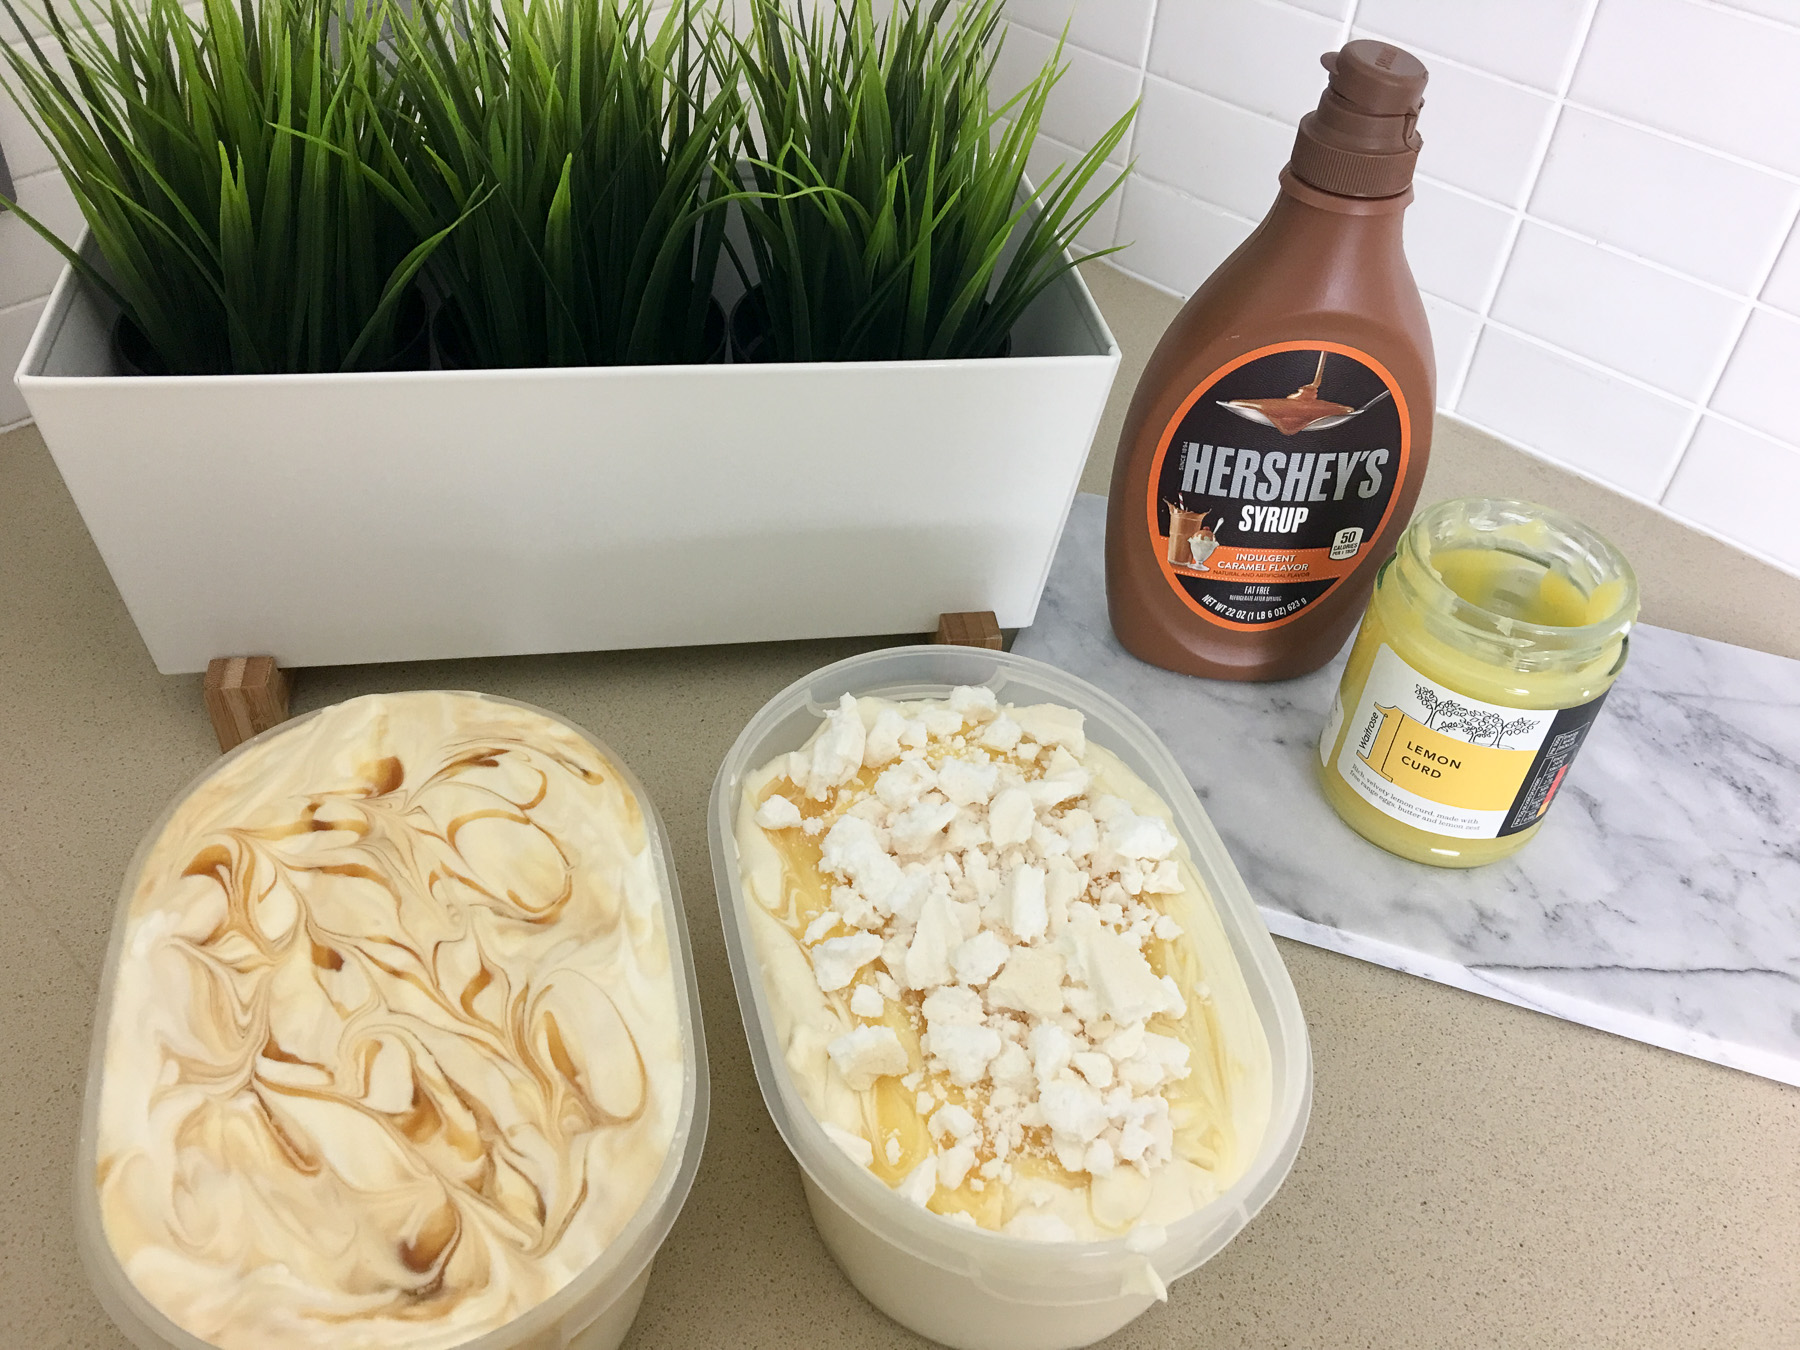
The ice cream base which we made above is delicious (and very, very sweet) itself, but if you would like something a bit more exciting you can add absolutely any flavour / ingredient you desire into the mix. My sister is coming to visit me in Abu Dhabi this weekend and she absolutely loves lemon meringue, so this time I made a lemon meringue ice cream. To do this, I added 3 tablespoons of lemon curd and 2 crushed up meringue nests to the main ice-cream mix. I serve this one with a slice of lemon on top and a few more crumbs of meringue.
I also made a caramel ice-cream by simply adding some caramel sauce to the ice-cream base and mixing gently before pouring into the airtight container. I made a little pattern on the top of this by putting a blob of caramel on top and dragging it through the mix with a cocktail stick to create a swirled marble effect.
I like to serve the ice cream in these little ice cream cartons which I got in Daiso. I’m pretty sure you can find a similar thing on Amazon or in the supermarkets. The ones which I bought had a bit of an ugly pattern on them to be honest, so of course I made them look a bit prettier for this blog post by wrapping them in some nice paper which I already had at home…… completely unnecessary but I just had to do it! Lol

That’s it for this no-machine ice-cream recipe. Please do let me know if you make it yourself and what flavour’s and toppings you used. I hope you like it!

I HAVE to try this. We are so fed up of eating the mass produced ice cream that we buy from the grocery store and so I am dying to try this out. Your cartons look awesome and haagen daaz. ?
I really hope you do try it Emma. It is so easy and honestly delicious (not to mention cheaper than the store bought stuff). Let me know if you try it 🙂 Hope you love it!